


Introduction to Reading Amigurumi Patterns
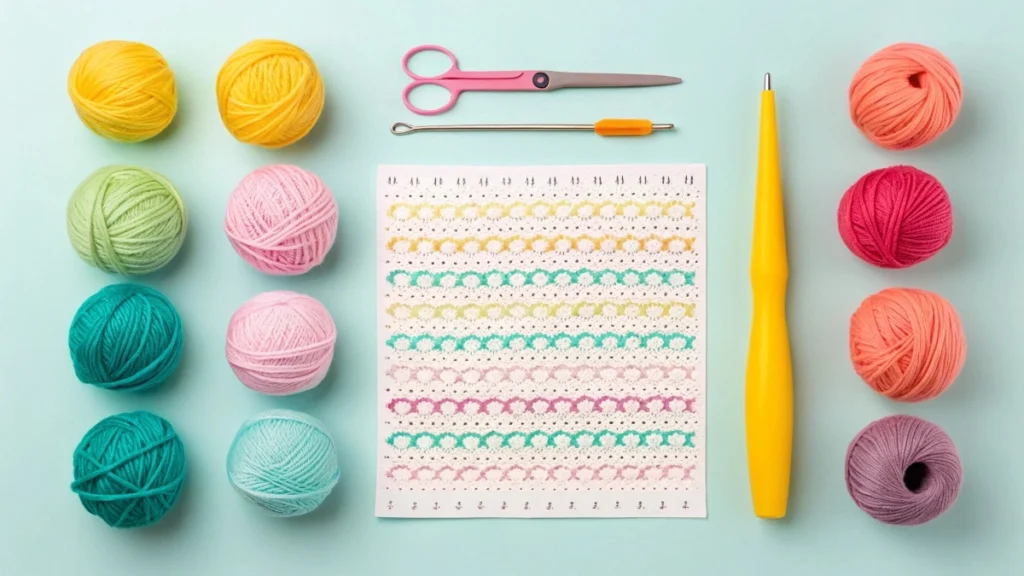
Are you staring at an amigurumi pattern, wondering what all those abbreviations and symbols mean? You’re not alone! For many beginners, learning how to read an amigurumi pattern can feel like cracking a secret code filled with terms like “sc,” “inc,” and cryptic stitch counts.
But don’t worry—understanding how to read an amigurumi pattern is easier than it seems. Once you grasp the basics, these patterns will become your best friend in the world of cute and cuddly crochet toys.
In this beginner-friendly guide, we’ll walk you through everything you need to know about how to read an amigurumi pattern, from decoding common crochet abbreviations to following step-by-step instructions like a pro. Whether you’re starting your crochet journey or ready to make your first plushie, this tutorial will help you turn yarn into magic.
💡 Tip: Before diving into the full process of how to read an amigurumi pattern, check out this detailed guide on what amigurumi is and why it’s such a fun craft for beginners. Understanding the basics will make pattern reading much easier.
Let’s unravel the mystery together and get stitching! 🧵✨
Jump to a section
Why Learning to Read an Amigurumi Pattern Is Important
Before you dive into yarn and hooks, understanding how to read an amigurumi pattern can save you a lot of time and frustration. Think of a pattern as your personal roadmap—without it, you’re crocheting in the dark.
Most amigurumi designs follow a structured format using abbreviations, stitch counts, and symbols. At first glance, this might seem overwhelming, but once you learn the basics, it opens up a world of creativity. You’ll be able to follow patterns from books, blogs, and even international designers—because crochet is a language of its own.
Being able to confidently read an amigurumi pattern allows you to:
- Avoid mistakes early on
- Understand stitch placement
- Customize your projects
- Work faster and smarter
In short, it’s the foundation of every successful amigurumi project.
Breaking Down the Basics: What You’ll Find in an Amigurumi Pattern
To truly learn how to read an amigurumi pattern, it’s essential to understand the layout and language used in these creative instructions. Whether you’re browsing a blog post, using a printed booklet, or downloading a digital file, most amigurumi patterns follow a predictable format that becomes easier to understand with practice.
Let’s walk through the five essential components you’ll see in nearly every amigurumi guide. Once you become familiar with these, you’ll know exactly how to read an amigurumi pattern from start to finish.
🧶 1. Materials List
The first thing you’ll notice when you read an amigurumi pattern is the materials list. This section outlines the recommended yarn type, crochet hook size, fiberfill stuffing, safety eyes, and additional tools. Using the right materials helps ensure your toy turns out just like the sample image.
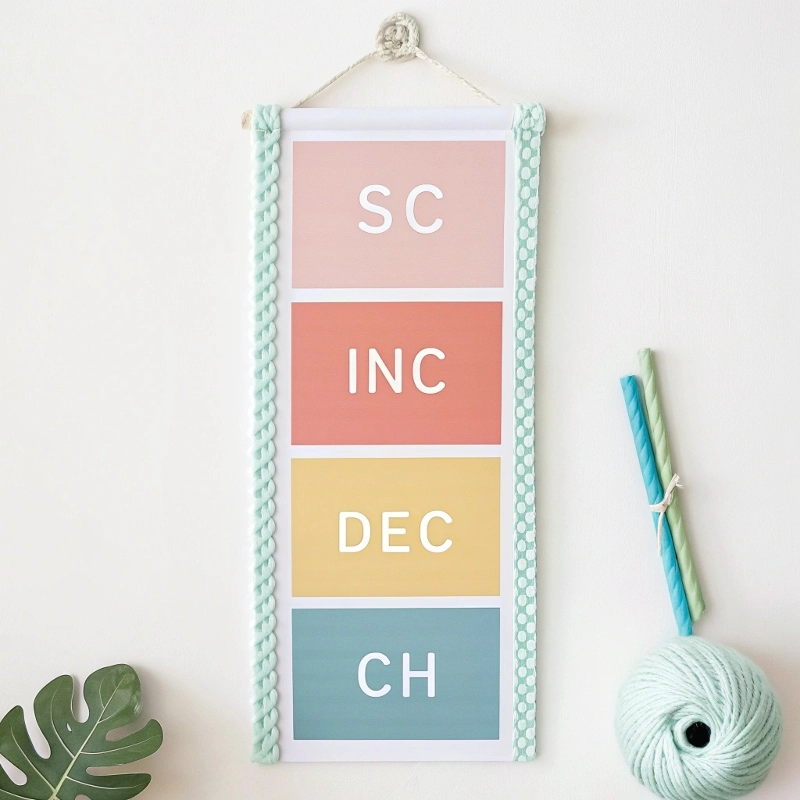
📏 2. Abbreviations & Symbols
To understand how to read an amigurumi pattern, you’ll need to get comfortable with common crochet abbreviations. For example, “sc” stands for single crochet, “inc” for increase, and “dec” for decrease. Most patterns include a key or legend to help you decode these terms at a glance.
🔁 3. Pattern Instructions
This is where the step-by-step construction begins. Each round is written in shorthand, like:
Rnd 1: 6 sc in magic ring
If you know how to read an amigurumi pattern, this means you’ll crochet six single crochets into a magic circle. Patterns are usually written in rows or rounds with stitch counts at the end of each line.
🧵 4. Assembly Notes
Because amigurumi toys are made in separate pieces, this section gives tips on how to attach arms, legs, ears, and facial features. Understanding how to read an amigurumi pattern includes being able to follow assembly instructions that guide your shaping and finishing.
📌 5. Finishing Touches
Here’s where your plush creation comes to life! From embroidered mouths to sewn-on cheeks or clothes, the final instructions help personalize your project. Once you know how to read an amigurumi pattern thoroughly, this part becomes a fun, creative step rather than a confusing one.
By recognizing each of these parts, you’ll gain clarity and confidence. With practice, you’ll move from beginner to skilled crocheter—just by mastering the art of how to read an amigurumi pattern.
Common Crochet Abbreviations You Must Know for Amigurumi
One of the biggest hurdles when learning how to read an amigurumi pattern is decoding the shorthand language used in crochet instructions. These abbreviations might seem cryptic at first, but they actually make patterns easier to follow once you understand them.
Below are some of the most common crochet abbreviations you’ll encounter in amigurumi patterns:
| Abbreviation | Meaning | Explanation |
|---|---|---|
| sc | Single crochet | The most basic stitch used in amigurumi. |
| inc | Increase | Make two stitches in the same stitch. |
| dec | Decrease | Combine two stitches into one. |
| sl st | Slip stitch | A way to join rounds or move the yarn. |
| ch | Chain | A foundation stitch or used in joining. |
| st | Stitch | A general reference to a stitch. |
| rnd | Round | Each circular row in your amigurumi piece. |
| FO | Fasten off | How to end your project securely. |
| MR | Magic ring (circle) | Used to start a round without leaving a hole. |
When you learn how to read an amigurumi pattern, keeping a cheat sheet of these terms nearby can be extremely helpful—especially in your first few projects.
Many patterns include their own list of abbreviations at the top, so always check there first. And don’t worry—after a few tries, reading these will feel as easy as reading plain English. If you want to explore more crochet terms, check out the full list of crochet abbreviations by the Craft Yarn Council.
Understanding Pattern Formatting and Structure
Once you’re comfortable with crochet abbreviations, the next step in mastering how to read an amigurumi pattern is understanding how the instructions are laid out. Most amigurumi patterns are structured round-by-round, with a clear, logical progression.
Let’s break down a typical section of an amigurumi pattern and explain what it means:
🔁 Sample Pattern Breakdown
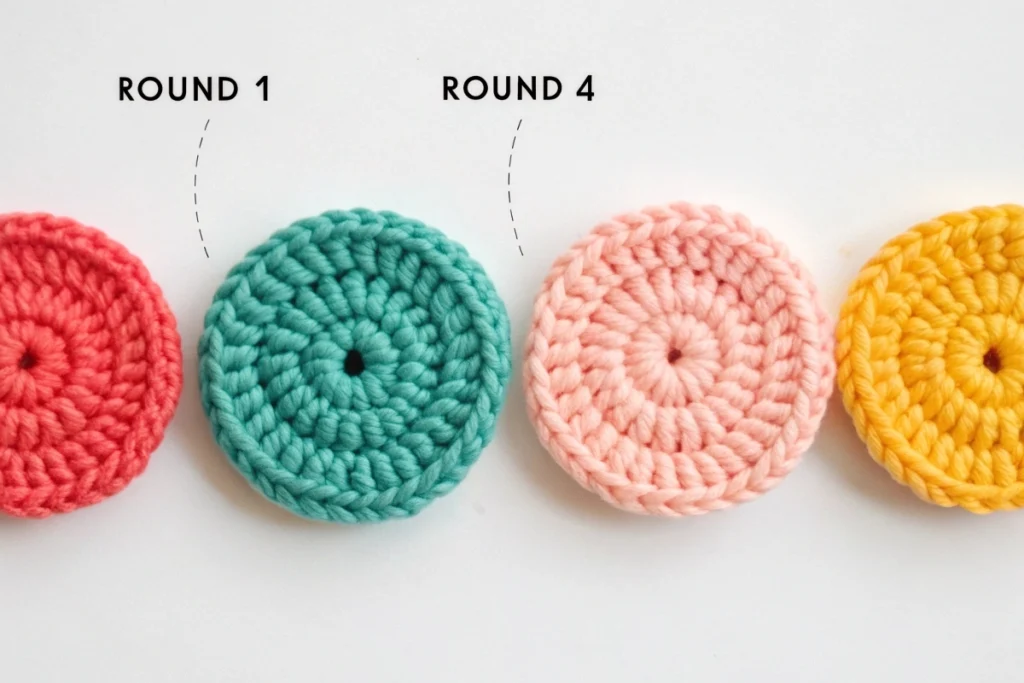
Rnd 1: 6 sc in magic ring (6)
Rnd 2: inc in each st around (12)
Rnd 3: (1 sc, inc) x 6 (18)
Rnd 4–6: sc in each st around (18)
What does this mean?
- Rnd 1: Start with 6 single crochet stitches in a magic ring. You now have 6 stitches in total.
- Rnd 2: Increase in every stitch around — you’ll double your stitch count to 12.
- Rnd 3: Alternate 1 single crochet and 1 increase, repeating that six times, ending with 18 stitches.
- Rnd 4–6: Just make one single crochet in each stitch for 3 rounds to maintain the shape.
If you’re learning how to read an amigurumi pattern, these lines are the heart of the pattern—and knowing how to interpret them will unlock any project.
📏 Stitch Counts
The number at the end of each round (in parentheses) tells you how many stitches you should have. Always double-check your count to stay on track. If something feels off, it’s easier to fix the mistake early than to restart from scratch later.
🔄 Repeats and Multipliers
Patterns use brackets or parentheses to indicate repeats, like:
(1 sc, inc) x 6This means you do the actions inside the parentheses six times. It helps simplify the pattern and makes it easier to follow without writing out every stitch.
Understanding the structure is essential if you want to confidently read an amigurumi pattern without second-guessing every step.
How to Read Rounds and Rows in Amigurumi Patterns
When you’re learning how to read an amigurumi pattern, one detail that can trip you up is the difference between rounds and rows. Since most amigurumi projects are made in the round, understanding this concept is key.
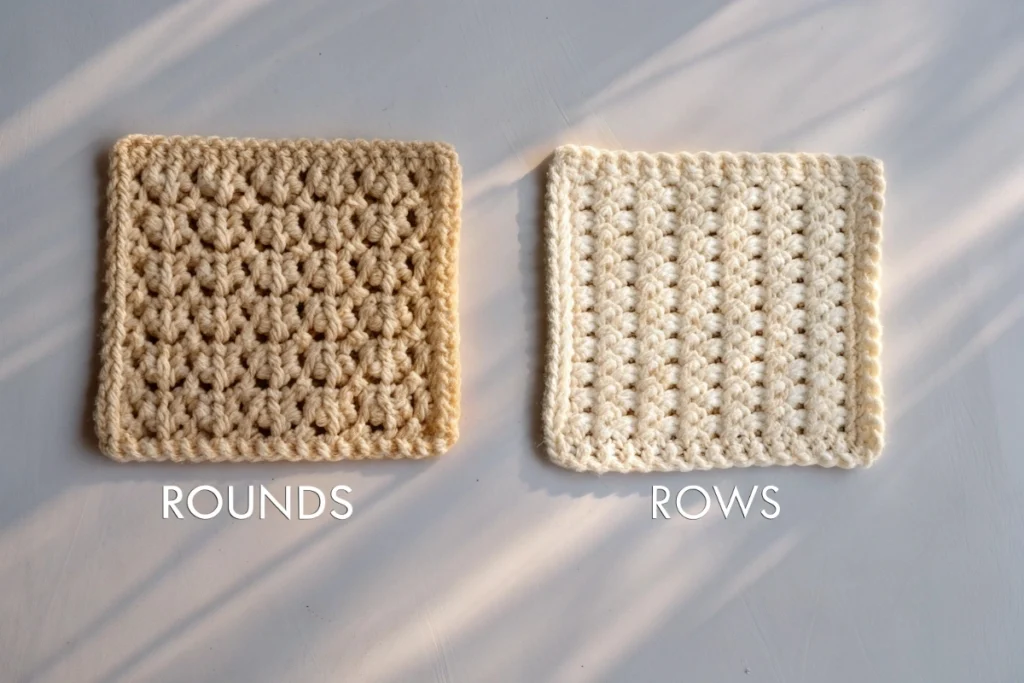
🌀 What Are Rounds?
In amigurumi, we typically crochet in spirals (continuous rounds) rather than joining at the end of each round. That means you keep going without a slip stitch to close the round.
For example:
Rnd 1: 6 sc in MR
Rnd 2: inc in each st around (12)
You continue crocheting into the first stitch of the previous round without stopping.
🔖 Tip: Use a stitch marker to keep track of the start of each round—it’s a must when you’re practicing how to read an amigurumi pattern.
🧱 What Are Rows?
Some patterns—especially for flat pieces like ears or small details—may use rows instead of rounds. This means you crochet to the end of the line, then turn your work and go back the other way.
You might see this written as:
Row 1: ch 8, sc in 2nd ch from hook, sc in next 6 st (7)Row 2: ch 1, turn, sc across (7)
While less common in amigurumi, it’s helpful to recognize row-based instructions in mixed or hybrid designs.
💡 How to Spot the Difference
If you see terms like “Rnd” or instructions that mention a magic ring, you’re working in rounds. If it says “Row” and tells you to turn your work, you’re working back and forth.
Knowing this will help you confidently follow any pattern and better understand how to shape your amigurumi projects.
Understanding rounds vs. rows is a big step in mastering how to read an amigurumi pattern and avoiding confusion mid-project.
More Free Amigurumi Patterns You’ll Love

")


How to Read Repeats, Parentheses, and Multipliers in Amigurumi
When you’re figuring out how to read an amigurumi pattern, you’ll often come across instructions written in compact shorthand using parentheses, asterisks, and multipliers. These notations may seem confusing at first, but they’re designed to make patterns shorter and easier to follow.
Let’s break them down:
➕ Parentheses and Multipliers
Parentheses group stitches together to indicate a repeat. A number outside the parentheses tells you how many times to repeat the group.
Example:
(1 sc, inc) x 6
🔍 Translation:
- Do one single crochet, then one increase.
- Repeat that sequence six times total.
- Your stitch count will increase from 6 to 12.
✳️ Asterisks
Some patterns use asterisks (*) instead of parentheses, especially in older or more traditional patterns.
Example:
*sc, inc* repeat 6 times
This means the same thing as the parentheses example. The asterisks just highlight what to repeat.
🔄 Brackets
Occasionally, brackets are used similarly to parentheses. If a pattern uses both parentheses and brackets, the brackets often group multiple sets.
Example:
[sc, inc, (sc x 2)] x 3
Here, you do everything inside the brackets three times, which includes a mini repeat (sc x 2) inside.
🧠 Pro Tip: Read Slowly and Double Check
When you’re still learning how to read an amigurumi pattern, take your time with these symbols. Write it out in full if needed, and always count your stitches after each round.
Understanding these small details makes a big difference when you’re following complex amigurumi designs.
What You’ll Often Find at the Top of an Amigurumi Pattern
Before you even start stitching, one of the most important steps in learning how to read an amigurumi pattern is understanding the information provided at the top. This section acts like a roadmap—it prepares you with everything you need to know before picking up your hook.
Here’s what you’ll typically see:
🧶 1. Materials List
This includes everything you’ll need to complete the project—yarn weight, hook size, stuffing, safety eyes, embroidery thread, and tools like stitch markers or needles. Some patterns may even specify a brand or exact yarn color.
📏 2. Finished Size
This tells you the approximate size of the finished toy if you use the recommended materials. If you’re using different yarn or hook sizes, your results may vary.
🧵 3. Gauge (Tension)
While not always critical in amigurumi, some patterns will include a gauge to help you achieve the intended size and proportions. It typically says something like “X stitches and Y rows = 1 inch.”
🧩 4. Abbreviations / Stitch Legend
Here, the designer lists the shorthand used in the pattern, for example, sc for single crochet, inc for increase, dec for decrease, etc. This is essential when you’re starting to learn how to read an amigurumi pattern.
🧠 5. Notes and Special Instructions
This may include tips on assembly, color changes, or specific techniques needed for the pattern. Don’t skip this part, it often answers questions before you have to ask them.
Reading this top section carefully will save you from mid-project surprises. Think of it as the “cheat sheet” for success.
How to Track Your Progress While Reading an Amigurumi Pattern
When you’re just starting out, it’s easy to lose your place in the pattern. Keeping track of where you are is an essential part of mastering how to read an amigurumi pattern.
Here are simple strategies to stay on track:
🧵 1. Use a Stitch Marker
In amigurumi, rounds are usually crocheted in a continuous spiral. A stitch marker placed in the first stitch of each round helps you know where each new round begins.
🧾 2. Print the Pattern or Use a PDF App
If you’re using a printed pattern, use a highlighter or pen to mark completed rounds. For digital patterns, apps like GoodNotes or Xodo let you annotate and check off rows as you go.
📊 3. Keep a Row Counter
A simple row counter (digital or manual) can help you track how many rounds you’ve done—especially important when you’re doing lots of repeats or making multiple parts (like two ears or arms).
📌 4. Write Notes as You Go
Write down where you paused or which part you’re working on (e.g., “Left arm, round 6”). This makes it easy to come back without re-counting.
🧶 5. Organize Pattern Pieces
When working on larger projects with many parts (like heads, limbs, tails), label them and store them in separate containers or bags. This reduces confusion during assembly.
Common Abbreviations in Amigurumi Patterns
When you’re learning how to read an amigurumi pattern, one of the biggest hurdles is understanding the abbreviations. These shortened crochet terms help keep patterns concise, but they can look like code to beginners.
Here’s a guide to the most common ones:
🧶 Essential Abbreviations
- sc – Single Crochet
- inc – Increase (usually 2 sc in one stitch)
- dec – Decrease (crocheting two stitches together)
- sl st – Slip Stitch
- ch – Chain
- st – Stitch
- rnd – Round
These are foundational when figuring out how to read an amigurumi pattern step by step.
✨ Other Common Amigurumi Pattern Abbreviations
- BLO – Back Loop Only
- FLO – Front Loop Only
- MR – Magic Ring or Magic Circle
- rep – Repeat
- fo – Fasten Off
- tog – Together
As you dive deeper into more advanced patterns, you’ll encounter these terms more often.
🧠 Pro Tip: Keep a Legend Handy
When following a new pattern, always check the top section for a legend. This makes it easier to interpret unfamiliar terms—especially when you’re learning how to read an amigurumi pattern on your own.
This section is a great cheat sheet to have on hand for all your future crochet projects. With time, you’ll memorize these terms without even realizing it!
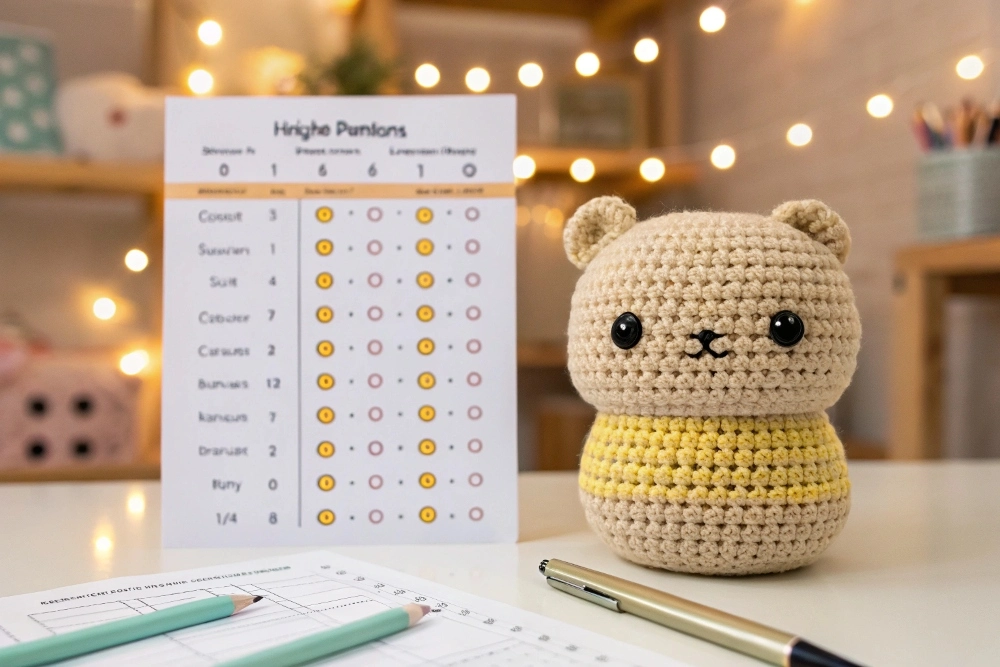
Visual Symbols and Diagrams in Amigurumi Patterns
If you’re a visual learner, you’ll love this part of learning how to read an amigurumi pattern: understanding charts and diagrams. Many crochet patterns—especially those inspired by Japanese or European styles—include crochet symbol charts instead of (or alongside) written instructions.
These visual diagrams represent stitches as symbols, making it easier to “see” how the pattern comes together.
🌀 Common Crochet Symbols for Amigurumi
- ○ = Chain stitch
- × or + = Single crochet
- ∧ = Decrease
- V = Increase
- • = Slip stitch
These are some of the most common you’ll encounter as you study how to read an amigurumi pattern using visual aids.
📌 Why Charts Are Useful
- They show stitch placement at a glance
- Ideal for symmetrical or circular shapes
- Help you see increases and decreases clearly
- Reduce language barriers (many Japanese patterns rely on charts!)
👀 Tips for Using Diagrams
- Always check the key or legend for each chart
- Use a pencil to mark your progress
- Follow the chart in spirals for round-based amigurumi
- Pair the visual with the written version for better understanding
Learning how to interpret symbols adds another layer to your understanding of how to read an amigurumi pattern, especially if you plan to explore international or advanced designs.
Step-by-Step Example: Reading a Basic Amigurumi Round
To truly understand how to read an amigurumi pattern, let’s walk through a simple example together. Here’s a beginner-friendly pattern snippet and what it means.
📝 Example Pattern Line
Rnd 1: 6 sc in MR
Rnd 2: inc in each st around (12)
Rnd 3: (1 sc, inc) x6 (18)
Rnd 4–6: sc in each st (18)
🧠 What It Means
🔹 Rnd 1: 6 sc in MR
Start with a magic ring (MR) and make 6 single crochet (sc) stitches into it. This forms the center of your work.
🔹 Rnd 2: inc in each st around (12)
Do 2 sc stitches in each of the 6 stitches from the previous round. You now have 12 stitches total.
🔹 Rnd 3: (1 sc, inc) x6 (18)
Repeat this sequence 6 times: make 1 sc, then 1 inc. You’ll end up with 18 stitches.
🔹 Rnd 4–6: sc in each st (18)
For three rounds, make one single crochet in each stitch. Your shape is now getting taller!
🎯 Why This Helps
Breaking the pattern down like this teaches you how to identify:
- Rounds vs. rows
- Where to increase or maintain shape
- What each part of the formula means
- How repetition works in crochet instructions
If you’re learning how to read an amigurumi pattern, this type of hands-on breakdown is golden. Try following this example with yarn and hook in hand!
How to Assemble and Finish Amigurumi Projects from Patterns
Reading a pattern doesn’t stop when the last round is done. If you really want to know how to read an amigurumi pattern, you need to understand how to put all the pieces together for a polished final result.
🧩 Most Patterns Include Instructions for Assembly
At the end of most patterns, you’ll find a section like:
“Sew arms to sides between Rnds 12–14.”
“Attach ears symmetrically on top of head.”
These lines are just as important as the crocheting itself.
🔧 Key Steps to Assemble an Amigurumi Toy
- Stuff All Pieces Firmly but Evenly
Use polyester fiberfill or your stuffing of choice to shape your toy. - Pin Pieces Before Sewing
Use straight pins or stitch markers to hold limbs and ears in place. This ensures symmetry. - Use the Right Sewing Method
Whipstitch and invisible stitch are commonly used to attach parts cleanly. - Secure Safety Eyes and Details Early
If your pattern calls for safety eyes or embroidery, install them before stuffing and closing the head. - Weave in All Ends
Tuck and weave all yarn tails securely so they don’t poke out later.
✨ Finishing Touches That Make a Difference
- Add blush with fabric markers or makeup
- Use embroidery thread for mouths, eyebrows, or custom features
- Block pieces gently if needed to correct shape
Learning how to assemble and finish your toy is part of truly mastering how to read an amigurumi pattern — it brings your creation to life!
Final Thoughts on How to Read an Amigurumi Pattern
Now that you’ve learned the key elements of how to read an amigurumi pattern, you’re ready to turn yarn into adorable crochet creations. Whether you’re deciphering abbreviations, following stitch charts, or assembling cute parts, each new pattern you try will build your confidence and skill.
Remember:
- Start simple and repeat often
- Keep a stitch guide nearby
- Don’t be afraid to make (and learn from) mistakes
- Join amigurumi communities for support and inspiration
📣 You’ve Got This!
Reading patterns is just like learning a new language — at first it feels unfamiliar, but soon it becomes second nature. With time, you’ll be flying through patterns and even designing your own!
So grab your yarn, pick a pattern, and enjoy the magical journey of amigurumi. 💖
“Ready to try your first pattern? Explore our free beginner amigurumi patterns here!”