


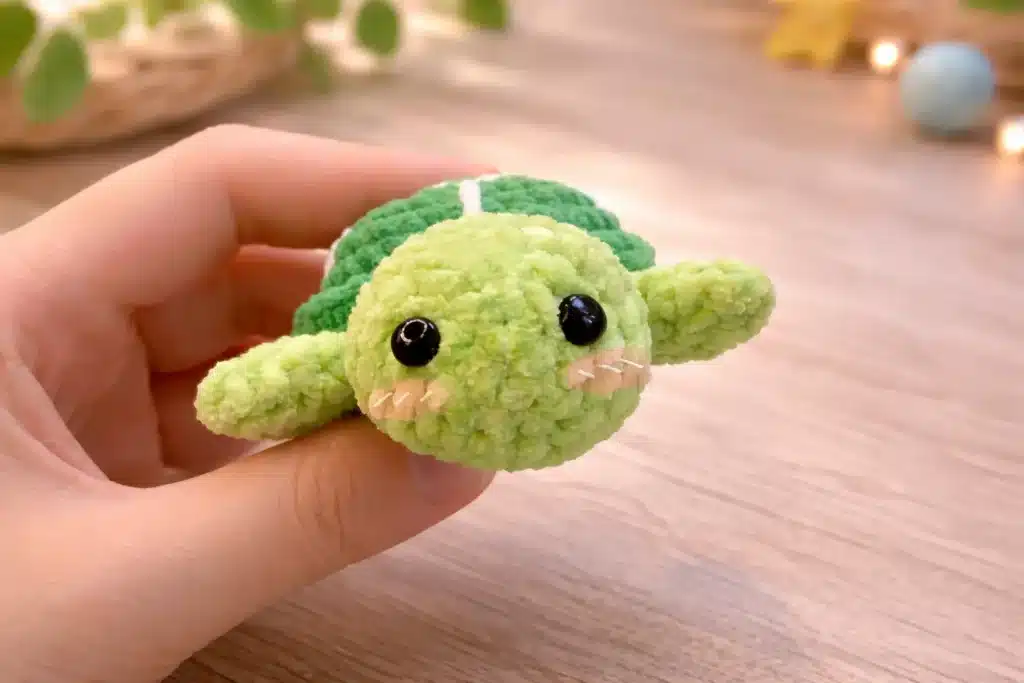
There is something so sweet about a tiny turtle you can hold in your hand. This mini sea turtle pattern is cute, quick, and full of personality, which makes it perfect for gifts, craft fairs, desk decor, or a little ocean-themed crochet collection. If you enjoy small projects like this one, you may also love this crochet clam shell pattern for a fun beachy set.
What I really love about this mini sea turtle pattern is the shape. The shell is nicely rounded, the flippers are adorable, and the white embroidery gives the finished turtle extra charm without making the pattern hard to follow. If you enjoy sea-themed makes, you might also want to explore this free whale crochet pattern for another lovely ocean-inspired project.
In this tutorial, I rewrote the pattern in a clean and easy format using US crochet terms. If you ever need to double-check stitch names and standard abbreviations, the Craft Yarn Council crochet abbreviations list is one of the best references to keep bookmarked.
This mini sea turtle pattern is also a great project for crocheters who already enjoy small amigurumi. If you are still learning the basics, my guide on what amigurumi is and this first amigurumi step-by-step guide can help you feel more confident before you begin.
Jump to section
Why You’ll Love This Mini Sea Turtle Pattern
This mini sea turtle pattern is a wonderful project if you like:
- small amigurumi
- ocean-themed crochet
- quick gifts
- market-friendly patterns
- simple shapes with adorable results
Because the rounds are short and repetitive, this mini sea turtle pattern is especially nice for confident beginners. And if you enjoy tiny animal-style makes, you may also like this cute amigurumi Molly the octopus free pattern.
Materials
To make this mini sea turtle pattern, you will need:
- “Mini” yarn
- 2.5 mm crochet hook
- Color A: grass green for the shell
- Color B: lime or fruit green for the head, legs, belly, and tail
- White yarn for shell embroidery
- Fiberfill stuffing
- Yarn needle
- Scissors
- Stitch marker
If you are unsure whether your yarn and hook pairing will give you the size you want, take a quick look at this helpful yarn weight, gauge, and hook size guide.
Crochet Abbreviations (US Terms)
Here are the stitches used in this mini sea turtle pattern:
- MR = magic ring
- sc = single crochet
- inc = increase, 2 sc in the same stitch
- dec = invisible decrease
- FLO = front loop only
- ch = chain
If you are still practicing your starting ring, this tutorial on magic ring vs chain circle in amigurumi can really help. And if you want a refresher on the main stitch used throughout this pattern, check out how to single crochet.
Important: Work in continuous rounds unless otherwise noted.
Mini Sea Turtle Pattern
1) Shell – Color A
Start with the shell.
Round 1: 6 sc in MR (6)
Round 2: inc x6 (12)
Round 3: (sc, inc) x6 (18)
Round 4: (sc, inc, sc) x6 (24)
Round 5: (3 sc, inc) x6 (30)
Rounds 6–8: sc around (30)
Rounds 9–10: FLO sc around (30)
Fasten off if needed according to your preferred joining method.
Shell note: Use white yarn later to embroider shell lines and texture on top of the shell.
2) Head – Color B
The head for this mini sea turtle pattern is worked separately and sewn on at the end.
Round 1: 6 sc in MR (6)
Round 2: inc x6 (12)
Round 3: (sc, inc) x6 (18)
Round 4: (sc, inc, sc) x6 (24)
Rounds 5–7: sc around (24)
Round 8: (sc, dec, sc) x6 (18)
Round 9: (sc, dec) x6 (12)
Round 10: dec x6 (6)
Stuff the head firmly but not too tightly. Fasten off and leave a long tail for sewing.
If invisible decreases still feel tricky, this guide to the invisible decrease crochet technique can help you get a smoother finish.
3) Front Legs – Make 2 – Color B
These front flippers give the mini sea turtle pattern its cute swimming shape.
Round 1: 6 sc in MR (6)
Round 2: inc x6 (12)
Round 3: (sc, inc) x6 (18)
Fasten off and leave a long tail.
Fold each piece in half and sew it closed slightly to create a flat flipper shape.
4) Back Legs – Make 2 – Color B
The back legs are smaller and more rounded.
Round 1: 6 sc in MR (6)
Round 2: (sc, inc) x3 (9)
Rounds 3–4: sc around (9)
Round 5: (sc, dec) x3 (6)
Fasten off and leave a long tail for sewing.
5) Tail – Color B
The tail in this mini sea turtle pattern is worked in rows instead of rounds.
Row 1: ch 6, sc in 2nd ch from hook and in each remaining chain across (5 sc)
Row 2: ch 1, turn, 5 sc
Row 3: ch 1, turn, 5 sc
Fasten off and leave a long tail for sewing.
6) Belly / Underside – Color B
This section closes the turtle and shapes the underside.
You will crochet this part into the inner loops of Shell Round 8.
Round 1: Join Color B and work 30 sc into the inner loops of Shell Round 8 (30)
Round 2: (3 sc, dec) x6 (24)
Round 3: (sc, dec, sc) x6 (18)
Round 4: (sc, dec) x6 (12)
Round 5: Stuff the body, then dec x6 (6)
Close the opening neatly and fasten off.
Assembly Instructions
Now it is time to bring your mini sea turtle pattern to life.
Attach the Head
Sew the head to the front opening area of the shell and belly section. Place it so it sits centered and slightly forward.
Attach the Front Legs
Sew the front flippers to the front sides of the body. Try to angle them slightly outward to give your turtle a gentle swimming look.
Attach the Back Legs
Sew the back legs to the lower back sides of the turtle.
Attach the Tail
Sew the tail to the back center.
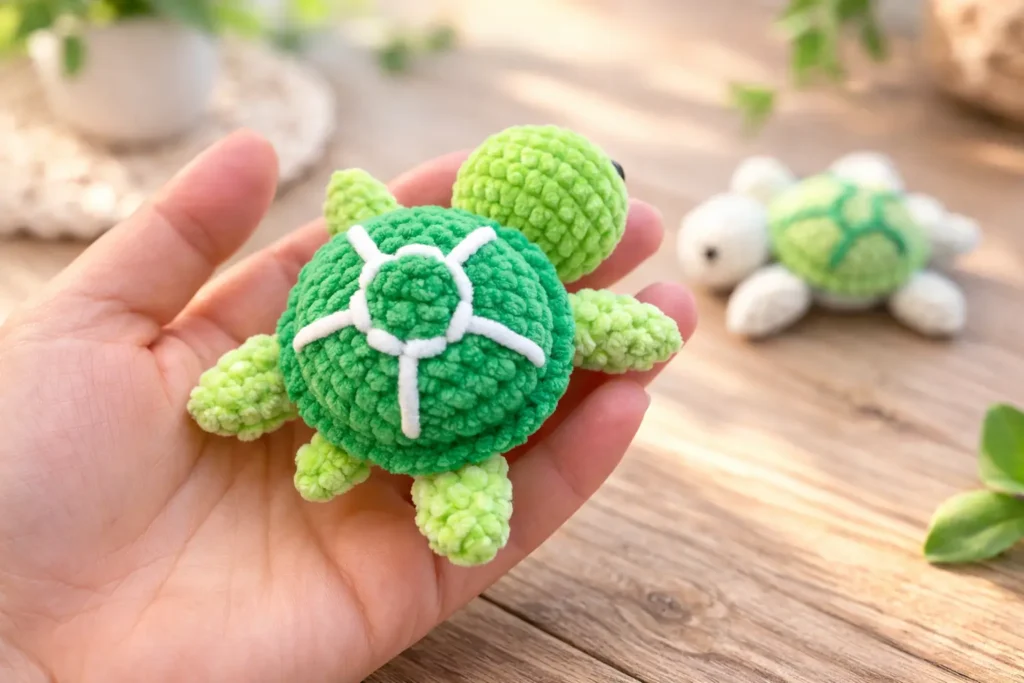
Embroider the Shell
Using white yarn, embroider shell lines or decorative texture on the shell. This final touch really makes the mini sea turtle pattern stand out.
If you sometimes struggle to place parts symmetrically, this tutorial on how to attach amigurumi limbs evenly is very useful.
More Free Amigurumi Patterns You’ll Love
")

")

Helpful Tips for a Neat Finish
A few small details can make your mini sea turtle pattern look even better.
Keep Your Increases Even
Use a stitch marker so you do not lose track of your rounds, especially on the shell and head.
Don’t Overstuff
Because this is a small project, too much stuffing can distort the turtle’s shape. Add enough to keep it plump, but still soft.
Flatten the Front Flippers
The folded flipper shape is part of what gives this mini sea turtle pattern its sea turtle look. Take a little time to shape them well before sewing.
Embroider Last
Always add the shell embroidery after assembly, so you can decide exactly where the lines look best.
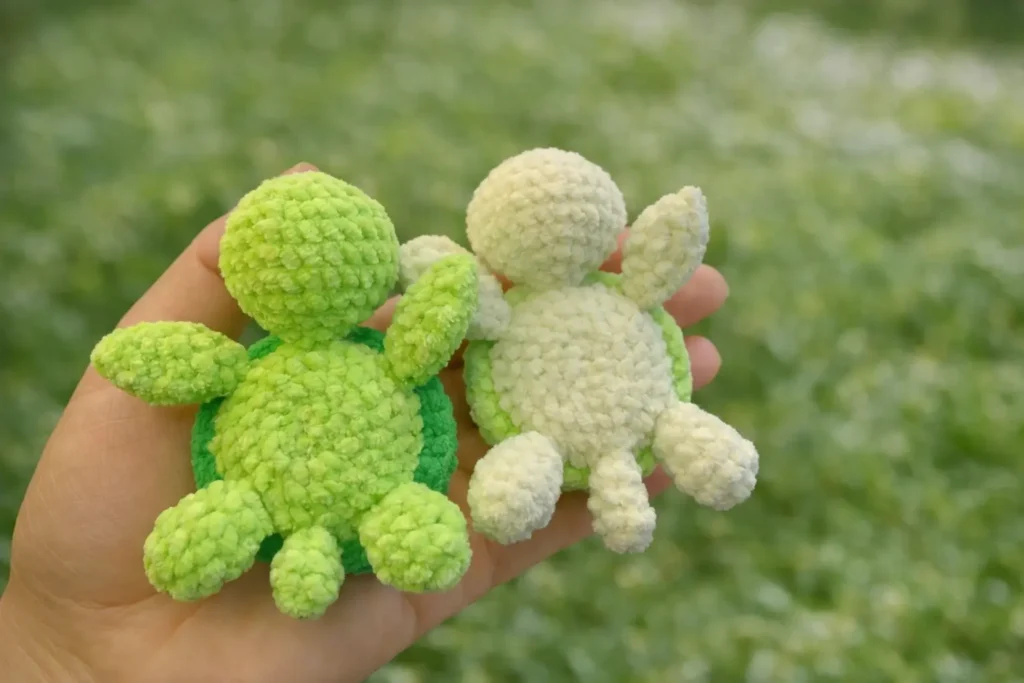
Finished Look
This mini sea turtle pattern creates a tiny turtle with:
- a rounded shell
- soft little flippers
- a cute small tail
- a contrasting underside
- decorative white shell embroidery
You can also experiment with different shades like mint, sage, aqua, pastel green, or even soft blue-green tones if you want a more playful version.
If you enjoy making tiny crocheted animals and characters, you might also have fun with this mini bear crochet keychain pattern, which has the same small and giftable feel.
Mini Sea Turtle Pattern FAQs
Is this mini sea turtle pattern beginner-friendly?
Yes, this mini sea turtle pattern is suitable for beginners who already know the basics of amigurumi, such as working in the round, making a magic ring, increasing, and decreasing.
What yarn can I use instead of mini yarn?
You can use other lightweight yarns, but the final size of your turtle will change depending on the yarn and hook size.
Can I use safety eyes?
This pattern version focuses on the shape and shell details. You can add tiny safety eyes or embroider eyes if you want, as long as they fit the small size of the turtle.
Do I have to embroider the shell?
No, but the white embroidery adds a lot of charm. It gives the shell extra definition and makes the finished turtle look more polished.
Can I turn this into a keychain?
Yes, this mini sea turtle pattern would make a lovely keychain, bag charm, or tiny gift topper.
If you have been looking for a small ocean-themed project, this mini sea turtle pattern is such a fun one to make. It is cute, relaxing, and easy to customize with your favorite shades of green. It is also quick enough to finish in one sitting, which makes it perfect when you want a satisfying little crochet win.
This tiny turtle would look lovely in a summer gift set, a nursery decor collection, or a handmade market display. And once you finish one, you may end up wanting to make a full mini sea creature set around it.