

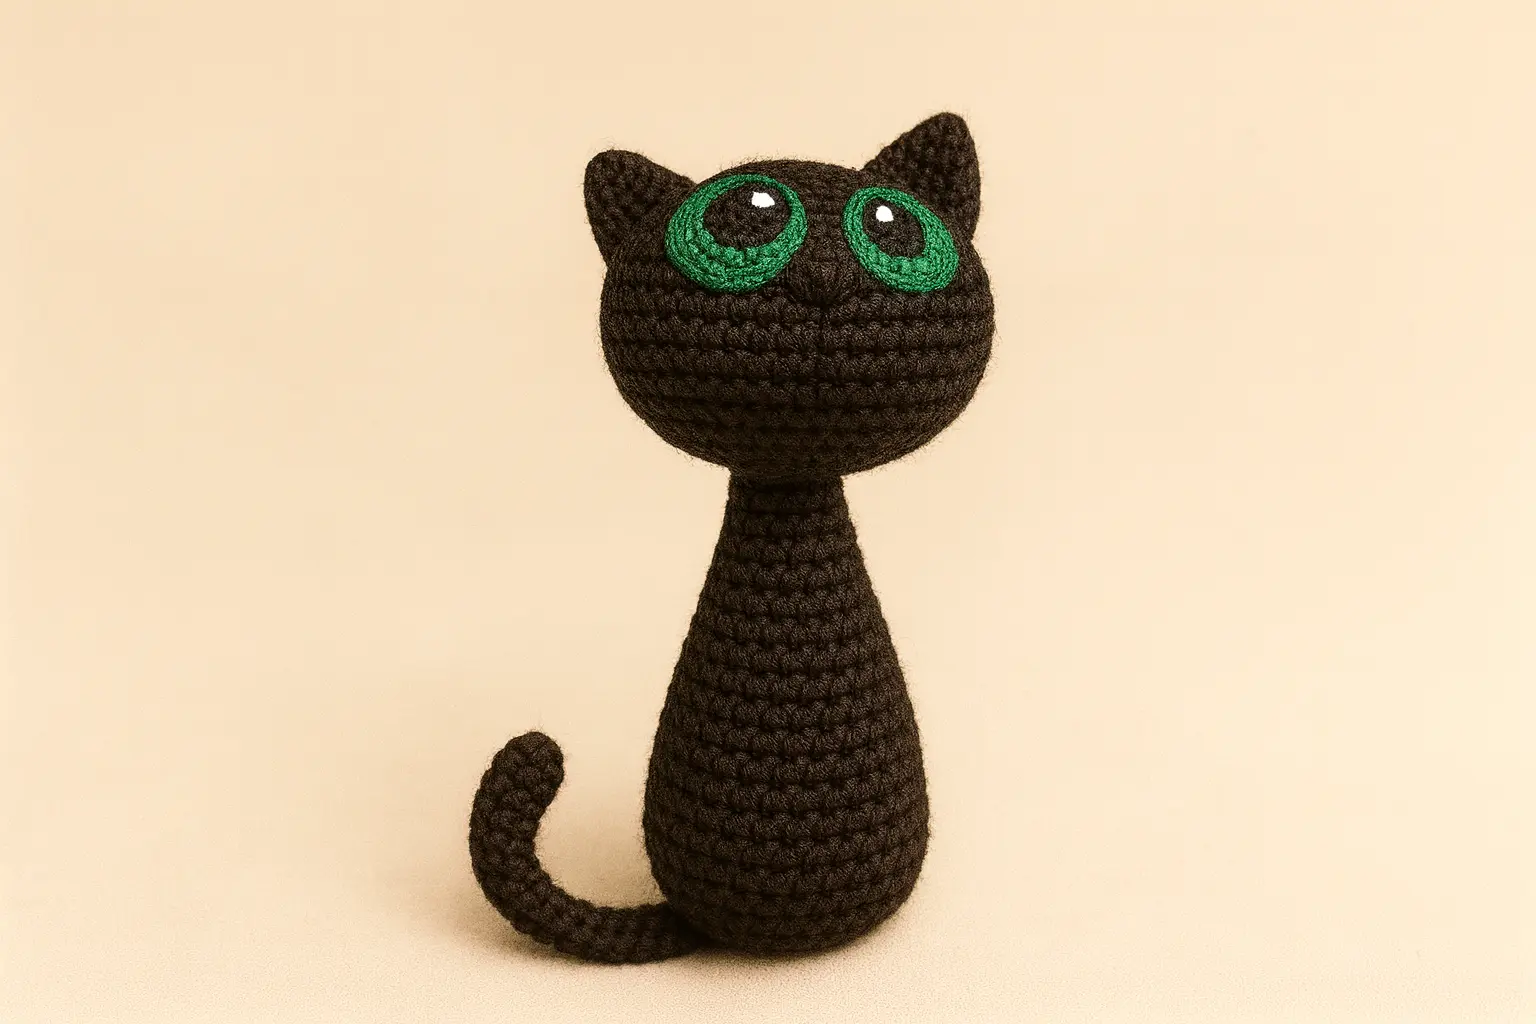
Looking for a spooky-cute project for Halloween? This free black cat crochet pattern shows you how to make an adorable amigurumi cat with oversized green eyes, pointed ears, and a long curly tail.
The pattern is worked mainly in continuous rounds using beginner-friendly stitches and includes a standard plush plus instructions for making a smaller keychain version with thinner yarn. You can also add a tiny crochet witch hat or mini pumpkin for an extra Halloween touch.
The finished black cat is perfect for Halloween decorations, handmade gifts, desk décor, bag charms, or a spooky amigurumi collection.
New to amigurumi? Start with the First Amigurumi Step-by-Step Guide before beginning the pattern.
Jump to section
Abbreviations & Supplies
Abbreviations (US):
- MR = magic ring
- ch = chain
- sc = single crochet
- inc = increase, 2 sc in the same stitch
- dec = invisible decrease
- sl st = slip stitch
- st(s) = stitch(es)
- FLO = front loop only
- FO = fasten off
Work in continuous rounds unless otherwise stated. Use a stitch marker to mark the first stitch of each round.
Yarn & tools (typical) for your Halloween black cat crochet pattern:
- Yarn: DK or light-worsted cotton/acrylic in black (main), green (iris), a touch of black/gray (pupils), and white (eye shine).
- Hook: 2.5–3.0 mm (match yarn and your tension). See standards: Craft Yarn Council—Yarn Weight System.
- Notions: Polyester stuffing, yarn needle, stitch marker.
- Tail options: Thin craft wire or pipe cleaner (optional) to make a curl.
- Base (optional): Small cardboard/plastic circle for extra stability.
- Gauge/size helper: With DK + 2.75–3.0 mm hook, the black cat crochet pattern stands ~12–15 cm. For a smaller keychain, drop hook size and stuffing slightly.
- Need help matching yarn and hook? See the Yarn Weight, Gauge & Hook Size Guide.
Tip: Keep a stitch-marker ladder and count every round, your black cat crochet pattern will keep its shape perfectly.
Black Cat Crochet Pattern (Standard Plush)
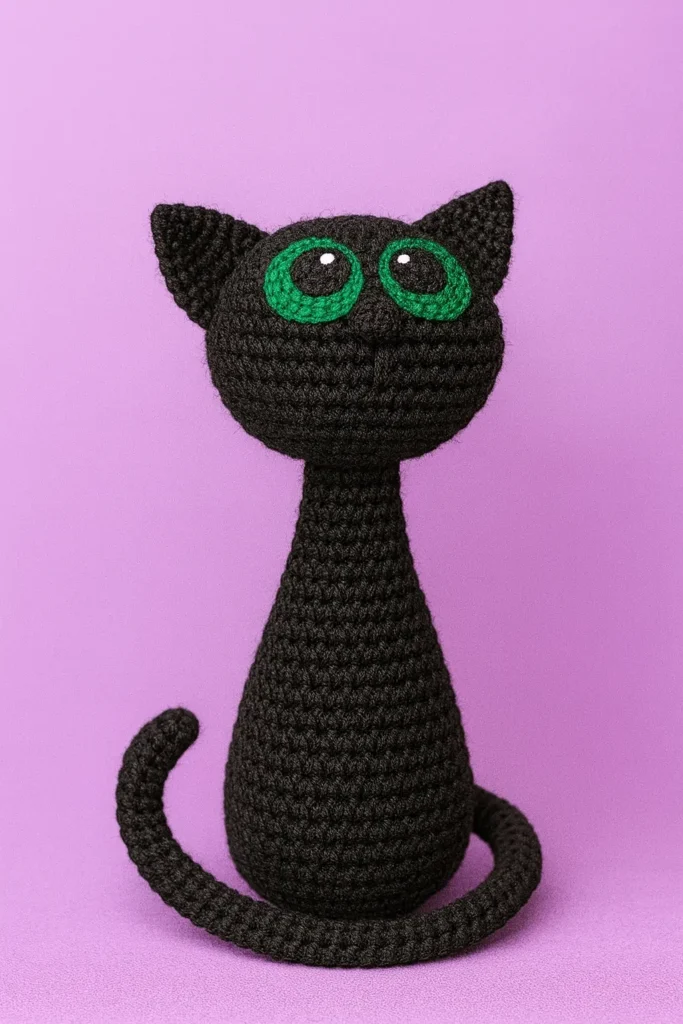
This black cat crochet pattern is written in US terms and worked in continuous rounds (no joining unless noted). For clean shaping later, you’ll use invisible decreases, see Invisible Decrease Crochet.
Eyes (green iris) ×2
- R1: MR 6 sc (6)
- R2: inc around (12)
- R3: (sc, inc) ×6 (18)
- R4: (2 sc, inc) ×6 (24)
Fasten off, leave a tail to sew to head.
Pupils (black) ×2
- R1: MR 6 sc (6)
- R2: inc around (12)
Fasten off leaving a tail. Sew each pupil onto a green iris, slightly off-center for expression. Add a tiny white embroidered dot for eye shine.
Nose (black)
- R1: MR 6 sc (6)
- R2: sc, 4 inc, sc (10)
- R3–R6: sc around (10)
- R7: sc, 4 dec, sl st (6)
Leave a long tail for sewing.
Ears ×2 (black)
- R1: MR 5 sc (5)
- R2: 4 sc, inc (6)
- R3: (sc, inc) ×3 (9)
- R4: sc, inc, (2 sc, inc) ×2, sc (12)
- R5: (3 sc, inc) ×3 (15)
- R6: (4 sc, inc) ×3(18)
- R7: (5 sc, inc) ×3 (21)
- R8: 3 sc, inc, (6 sc, inc) ×2, 3 sc (24)
- R9: (7 sc, inc) ×3 (27)
- R10–R11: sc around (27)
- Finish: sl st in the next st. FO, leaving a long tail for sewing.
Fold each ear into a triangle and stitch along the edge to hold shape, cute and crisp for your Halloween black cat crochet pattern.
Tail (black)
- R1: MR 5 sc (5)
- R2: 4 sc, inc (6)
- R3–R51: sc around (6)
(Insert a thin wire/pipe cleaner if you want a fixed curl.) - R52: 5 sc, inc (7)
If you want a poseable tail, insert a thin piece of craft wire or pipe cleaner before finishing.
Finish: sc in the next st, sl st in the next st. FO, leaving a long tail for attaching and reinforcing the tail.
Head & Body (one piece, black)
- R1: MR 6 sc (6)
- R2: inc around (12)
- R3: (sc, inc) ×6 (18)
- R4: sc, inc, (2 sc, inc) ×5, sc (24)
- R5: (3 sc, inc) ×6 (30)
- R6: (4 sc, inc) ×6 (36)
- R7: sc around (36)
- R8: (5 sc, inc) ×6 (42)
- R9–R12: sc around (42)
- R13: (dec, 5 sc) ×6 (36)
- R14: sc around (36)
- R15: (4 sc, dec) ×6 (30)
- R16: (dec, 3 sc) ×6 (24)
—Stuff the head firmly— - R17: sc, dec, (2 sc, dec) ×5, sc (18)
- R18: (dec, sc) ×6 (12)
- R19–R21: sc around (12)
- R22: 11 sc, inc (13)
- R23–R24: sc around (13)
- R25: 12 sc, inc (14)
- R26: sc around (14)
- R27: 13 sc, inc (15)
- R28: sc around (15)
- R29: 2 sc, inc, (4 sc, inc) ×2, 2 sc (18)
- R30: sc around (18)
- R31: (5 sc, inc) ×3 (21)
- R32: sc around (21)
- R33: 3 sc, inc, (6 sc, inc) ×2, 3 sc (24)
- R34: sc around (24)
- R35: (7 sc, inc) ×3 (27)
- R36: sc around (27)
- R37: 4 sc, inc, (8 sc, inc) ×2, 4 sc (30)
- R38: sc around (30)
- R39: (9 sc, inc) ×3 (33)
- R40: sc around (33)
- R41: 5 sc, inc, (10 sc, inc) ×2, 5 sc (36)
- R42–R48: sc around (36)
Attach the tail while crocheting the next two rounds:
Position the tail at the back of the body before working R49. Pin it temporarily so the curl points in the direction you want.
- R49: 33 sc, then work the final 3 sc through both the body stitches and the base of the tail to begin securing the tail. [36]
- R50: 33 sc, then work the final 3 sc through both the body and the tail again to reinforce the attachment. [36]
- R51: sc around. [36]
- Finish: sl st in the next st. FO, leaving a long tail for sewing the base.
Check that the tail is firmly attached. Use the tail yarn to add a few hidden stitches afterward if extra reinforcement is needed.
Counting cleanly keeps shaping perfect, see Count Rounds in Crochet if you need a quick refresher.
Body Base (black – separate circle)
- R1: MR 6 sc (6)
- R2: inc around (12)
- R3: (sc, inc) ×6 (18)
- R4: sc, inc, (2 sc, inc) ×5, sc (24)
- R5: (3 sc, inc) ×6 (30)
- R6: (4 sc, inc) ×6 , sl st (36)
Leave a long tail for sewing. (You can insert a cardboard/plastic circle before closing for stability.)
Assembly
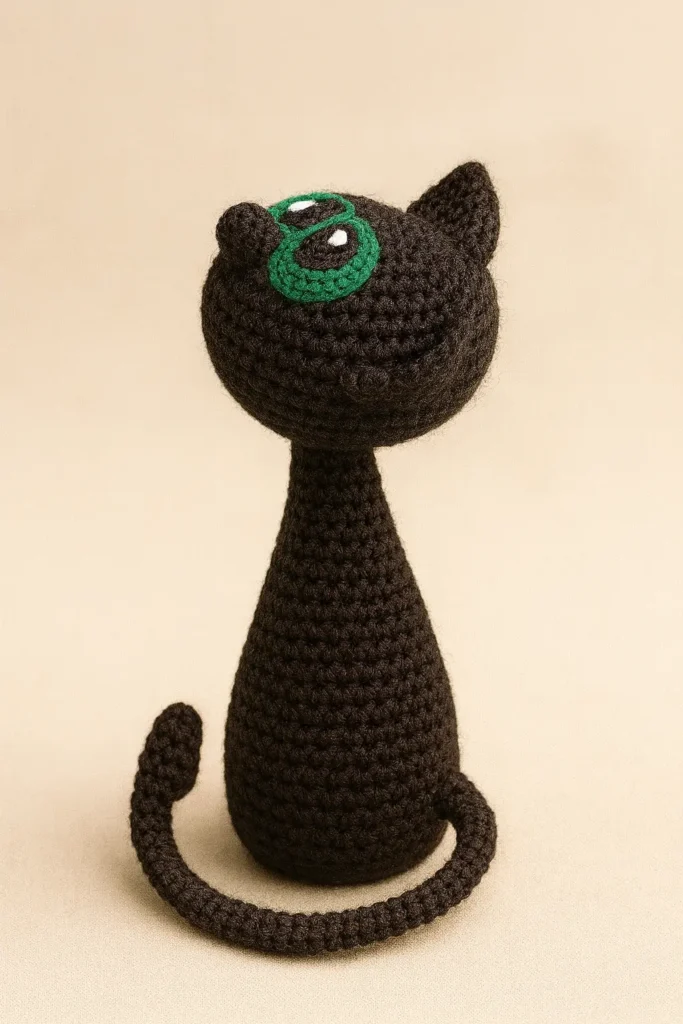
- Set eyes high on the head (about R5–R7), touching in the middle for a cute Halloween black cat look.
- Stitch the nose between the eyes, slightly overlapping their inner edges.
- Sew the ears symmetrically on the top sides of the head.
- Curl the tail and secure its curve; the two “through-tail” rounds already anchor it—tack down the tip if you want the spiral.
- Stuff the body firmly and whipstitch the base to the body opening.
- Weave in ends and shape, your black cat crochet pattern is ready for Halloween displays.
Size note: With DK yarn and a 2.75–3.0 mm hook, the cat stands ~12–15 cm tall. Adjust hook/yarn to change size.
Mini Black Cat Keychain (Fast Version)
Want a smaller Halloween cat? The easiest way to make a mini version is to keep the same stitch counts and scale the pattern down with thinner yarn and a smaller hook.
- Yarn: sport or lightweight DK
- Hook: approximately 2.0–2.5 mm
- Eyes: about 6 mm, or embroider the eyes
- Stuffing: use slightly less stuffing than for the standard plush
Work the standard pattern as written. Using thinner yarn and a smaller hook will naturally produce a smaller black cat while preserving the original proportions.
Add the Keychain Hardware
- Sew a strong yarn loop through several stitches at the top of the head between the ears.
- Pass through the same area several times for reinforcement.
- Attach a jump ring and keychain clasp or split ring.
- Check that the loop is secure before using the finished cat as a bag charm or keychain.
For a keychain, I recommend leaving the tail unwired and shaping it gently by hand instead.
Finished size will vary depending on yarn, hook, and tension, so measure your completed cat before choosing the final hardware.
Halloween Add-Ons (Witch Hat + Micro Pumpkin)
Give your black cat crochet pattern extra Halloween flair with a tiny witch hat and a micro pumpkin. Both add-ons are fast, scrap-friendly, and designed to sit securely without shifting.
Tiny Witch Hat (fits both sizes)
Yarn: black + a stripe color (orange/purple). Hook: same as your cat.
Hat Cone
- R1: MR 4 sc (4)
- R2: (sc, inc) ×2 (6)
- R3: sc around (6)
- R4: (2 sc, inc) ×2 (8)
- R5: sc around (8)
- R6: (3 sc, inc) ×2 (10)
- R7: sc around (10)
- R8: (4 sc, inc) ×2 (12)
- R9: sc around (12)
(Add a contrast stripe on any “sc around” round if you like.)
Brim (worked in FLO of last round)
- R10 (FLO): inc in each st around. [24]
- R11: (sc, inc) ×12 (36)
- Sl st in the next st. FO and weave in the ends.
Attachment: Lightly stuff the cone tip to hold shape. Sew or tack the hat to the head between the ears, or use a hidden snap if you want it removable.
Pro look: Steam-block the brim flat; pinch the cone slightly for a witchy tilt.
Want a full themed look? See the Pumpkin Witch Crochet Pattern for styling ideas, color combos, and photo inspiration.
Micro Pumpkin (palm-size prop)
Yarn: orange + green.
- R1: Orange, MR 6 sc (6)
- R2: inc around (12)
- R3: (sc, inc) ×6 (18)
- R4–R6: sc around (18)
- R7: (sc, dec) ×6 (12)
- Stuff firmly.
- R8: dec ×6. [6], fasten off, close.
Ridges: With orange tail or fresh strand, make 5–6 vertical wraps around the pumpkin to define ridges (enter/exit through top/bottom center).
Stem: With green yarn, ch 5. Starting in the 2nd ch from the hook, sl st in each ch back to the beginning. FO and sew the stem to the top of the pumpkin.
Optional tendril:
Tendril: ch 8, then work sl st in each chain back toward the beginning. Gently twist or curl it into shape.
For a full spooky set, pair this with the Grim Reaper Crochet Pattern and stage a tiny Halloween scene.
Context touch: A one-line note about symbolism can round out your Halloween black cat crochet pattern, see Black cat folklore (Wikipedia).
Tuxedo (Black & White) Variation
Give your kitty a classic tuxedo look with a neat chest patch and a white tail tip, no extra limbs needed.
Approach A (easiest—after assembly):
- Chest patch: Embroider a rounded triangle or oval using white yarn with duplicate stitch or surface slip stitch centered on the front of the body. Aim for ~2–3 cm tall on the standard size.
- Tail tip: Wrap white yarn around the last 6–8 rounds of the tail and stitch through the surface to lock it, or embroider densely for a seamless look.
Approach B (integrated colorwork, while crocheting):
- Mark the front: When starting R33 of the body (24 sts), place a marker at the first stitch of the round; this will face front if your tail anchors at R49–R50 (back).
- Chest panel (white):
- R33: Work 6 white sc centered at the marker (for the chest), black for the remaining stitches.
- R34: Keep the white block but reduce to 5 sc to create a tapered top.
- R35 (inc round to 27): Maintain a 5–6 sc white block centered; place increases at the sides in black to avoid wobble.
- R36: Even round—hold the same white width or taper to 4–5 sc depending on shape.
- R37+: Return to all black so the patch stays compact and chest-focused.
- Tail tip (white): Switch to white for the last 6–8 rounds of the tail (e.g., from R46 onward if you want a long tip). Carry yarns cleanly inside; keep carries short and lightly tensioned.
- For invisible joins when switching colors in the round, see Changing Colors in Amigurumi Without a Visible Seam.
Pro finish: Lightly steam the embroidered chest area with a pressing cloth so stitches settle and look “woven in.”
Sizing, Safety & Finishing
Gauge is not critical for this Black Cat amigurumi. Use a hook that creates a tight fabric so the stuffing does not show between the stitches.
With DK or light-worsted yarn and approximately a 2.5–3.0 mm hook, the finished size will vary depending on your yarn, hook, and tension.
For a smaller cat or keychain, use sport or lightweight DK yarn with approximately a 2.0–2.5 mm hook and work the same stitch counts.
Stuffing
Stuff the head and body gradually with small pieces of fiberfill. Keep the head firm enough to hold its rounded shape, but avoid overstuffing the body.
Pay particular attention to the neck area so the head remains stable after finishing.
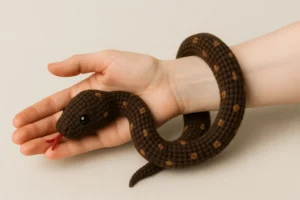
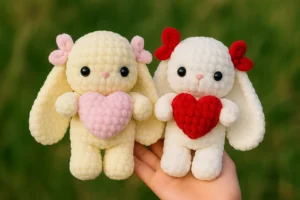
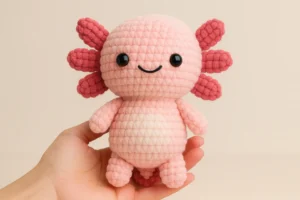
More Free Amigurumi Patterns You’ll Love
The tail can remain unstuffed or be very lightly stuffed, depending on the look you prefer.
Tail Shaping
For a decorative display piece, you may insert a thin piece of craft wire or a pipe cleaner into the tail before finishing. Bend it gently to create a curved Halloween-cat silhouette.
For a keychain or an item intended for a child, omit the wire and shape the tail naturally with your hands.
Eye & Child Safety
The main pattern uses crocheted green irises and black pupils, so safety eyes are not required.
If you choose to substitute safety eyes, install them securely before closing the head.
For babies and young children, use only securely sewn or embroidered facial details and omit wire, keychain hardware, buttons, beads, and other small removable pieces.
Finishing
Weave in all yarn tails securely and hide them inside the amigurumi.
Check that the ears, eyes, nose, tail, witch hat, and any other add-ons are firmly attached.
If needed, gently shape the ears and tail with your fingers. Avoid pressing an iron directly onto acrylic yarn.
For Halloween display, pair the finished black cat with the optional witch hat or mini pumpkin for a more seasonal look.
For Halloween display, pair the finished black cat with the optional witch hat or mini pumpkin for a more seasonal look.
Reading Tips & Troubleshooting
Reading patterns faster: Skim the round structure first (increase plate → straight rounds → decrease). Mark every 5th round with a removable marker.
Common fixes:
- Tilted head or uneven dome: Recount R5–R12 increases; switch to invisible decreases on shaping rounds; keep stitch marker in a straight column.
- Eyes look “off”: On minis, set them higher and closer (about head R5–R6).
- Tail won’t curl: Under-stuff the last third and steam shape, or add a thin pipe cleaner.
- Gaps between stitches: Tighten tension a touch or drop hook size by 0.25 mm.
Want to speed-read any pattern section? See How to Read an Amigurumi Pattern
Black Cat Crochet Pattern FAQ
Is this black cat crochet pattern beginner-friendly?
Yes. The main pattern uses basic amigurumi techniques such as single crochet, increases, decreases, and working in continuous rounds. The long tail and separate facial pieces add a little assembly, but the construction is still suitable for confident beginners.
What yarn works best for this black cat?
DK or light-worsted yarn works well for the standard version. Use a smaller hook than you normally would for the yarn so the fabric stays tight and the stuffing does not show.
Can I make this black cat into a keychain?
Yes. Use sport or lightweight DK yarn with a smaller hook and work the same stitch counts. After assembly, add a reinforced hanging loop between the ears and attach your keychain hardware.
Do I need safety eyes?
No. The pattern includes crocheted green irises and black pupils. You can also embroider the eyes if you prefer.
How do I keep the tail curved?
For a decorative display piece, you can insert a thin piece of craft wire or a pipe cleaner into the tail before finishing. For a child-safe version or keychain, leave the wire out and shape the tail gently by hand.
Can I add a witch hat or pumpkin?
Yes. The article includes a tiny witch hat and micro pumpkin that can be added for a stronger Halloween look.
Can I sell finished black cats made from this pattern?
You may sell handmade finished pieces in small quantities. Please credit TopAmigurumi as the pattern source and do not reproduce or redistribute the written pattern.
More Free Halloween Crochet Patterns
If you enjoyed this black cat, continue your Halloween amigurumi collection with:
- Crochet Ghost Pattern — 4 spooky-cute ghost variations.
- Grim Reaper Crochet Pattern — a hooded Reaper with a crochet scythe.
- Pumpkin Witch Crochet Pattern — a cute witchy pumpkin design.
- Free Crochet Pumpkin Pattern — simple seasonal décor for Halloween and fall.
- Candy Corn Crochet Pattern — a quick colorful Halloween project.
- Mini Bear Pumpkin Toast Crochet Pattern — a sweeter spooky-season make.
🎃Happy Halloween Crocheting🎃!
This free black cat crochet pattern is perfect for spooky-season décor, handmade gifts, or a cute Halloween keychain.
Add the tiny witch hat or mini pumpkin for an extra seasonal touch, then pair your cat with a crochet ghost, Grim Reaper, or pumpkin for a complete handmade Halloween collection.
Save the pattern for later and have fun customizing your black cat!
Love it? Pin & save this pattern for later so you can crochet a whole mini cat squad before Halloween 🎃📌
