


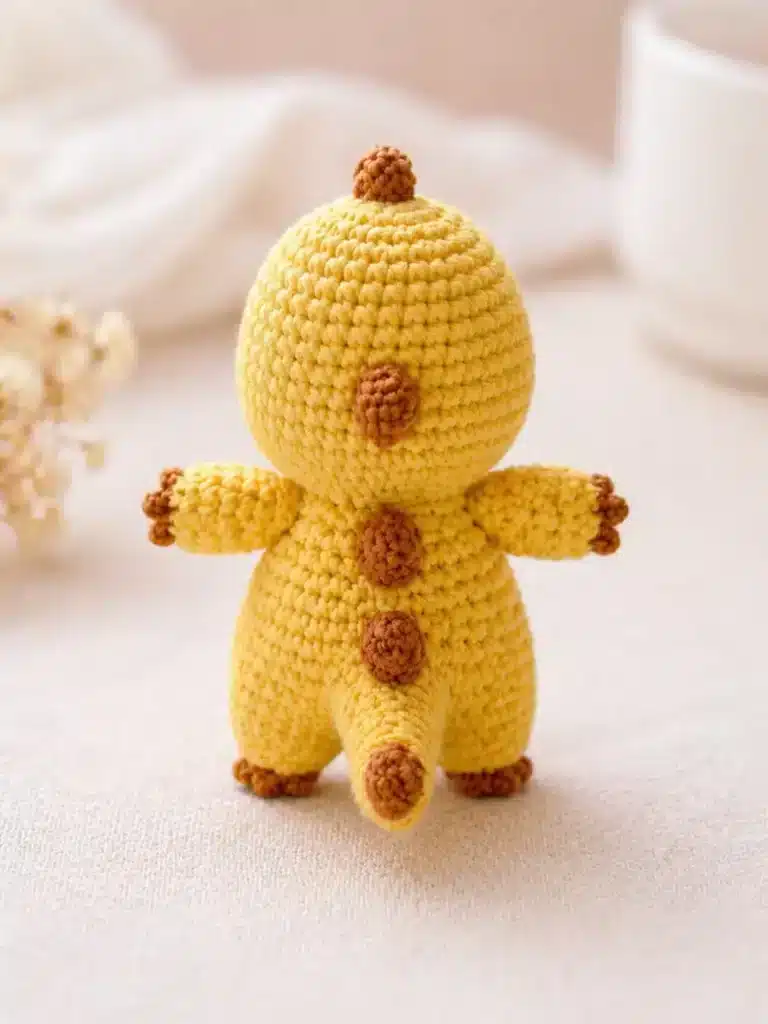
If you love tiny fantasy amigurumi, this Mini Milk Dragon Crochet Pattern is such a sweet project to add to your handmade collection. This little dragon has a soft rounded shape, a white belly, tiny light brown horns, small arms, a cute tail, and little toes that make the finished toy feel extra detailed.
I love this project because it is small but still full of character. The body and legs are worked together, the belly is created with simple color changes, and the fingers and toes are added into the front loops for a neat handmade finish. If you enjoy small animal-style amigurumi, you may also like the soft farm look of this brown calf crochet pattern or the cute shape of this mini cow amigurumi pattern.
This Mini Milk Dragon Crochet Pattern is written in US crochet terms and is suitable for confident beginners who already know how to work in continuous rounds, increase, decrease, change colors, and sew small parts.
Jump to section
About This Mini Milk Dragon Crochet Pattern
This mini dragon is made with a rounded yellow body, a white belly panel, light brown horns, small arms, a tail, and tiny paw details. The pattern uses basic amigurumi stitches, but the small details make it look more special than a simple beginner toy.
The belly is made directly into the body with color changes, so there is no separate belly patch to sew later. If you are still practicing clean color transitions, my guide on changing colors in amigurumi will help you keep the white belly neat.
For the arms and legs, the front loops from one round are saved and used later to create fingers and toes. This gives the dragon a tiny clawed look without making complicated separate pieces.
Skill Level
Advanced beginner to intermediate beginner
You should be comfortable with:
- Magic ring
- Single crochet
- Increases and decreases
- Working in continuous rounds
- Simple color changes
- Sewing small parts
- Working into front loops and back loops
If you are still new to pattern reading, you can review this helpful guide on how to read an amigurumi pattern before starting.
Finished Size
The finished size depends on your yarn, hook size, and tension.
With a small crochet hook and cotton or milk cotton yarn, your finished mini milk dragon will usually be a small handheld amigurumi, perfect for:
- Desk decoration
- Bag charm
- Keychain
- Handmade gift
- Cute fantasy collection
- Mini nursery decoration
Materials
To make this Mini Milk Dragon Crochet Pattern, you will need:
- Yellow yarn for body, arms, and tail
- White yarn for belly
- Light brown yarn for horns, fingers, and toes
- Black safety eyes
- Pink blush or pink yarn
- Red or brown embroidery thread for the mouth
- Fiberfill stuffing
- Crochet hook suitable for your yarn
- Yarn needle
- Stitch marker
- Scissors
For small amigurumi, I recommend using a hook slightly smaller than the yarn label suggests. This helps keep your stitches tight and prevents stuffing from showing. You can also check my yarn weight, gauge, and hook size guide if you want help choosing the best yarn and hook combination.
Abbreviations — US Terms
This Mini Milk Dragon Crochet Pattern uses US crochet terms.
- MR = magic ring
- sc = single crochet
- inc = 2 sc in the same stitch
- dec = single crochet decrease
- ch = chain
- sl st = slip stitch
- BLO = back loop only
- FLO = front loop only
- FO = fasten off
For extra stitch reference, you can also check the Craft Yarn Council crochet abbreviations, especially if you like comparing US crochet terms.
Pattern Notes
- Work in continuous rounds unless stated otherwise.
- Use a stitch marker to mark the first stitch of each round.
- Stuff the body firmly, but do not overstuff the arms, tail, or horns.
- The body and legs are worked as one main piece.
- The fingers and toes are worked into the front loops left from earlier rounds.
- The white belly is created with color changes during the body section.
- Invisible decreases are recommended for a smoother finish. If needed, see this guide on the invisible decrease crochet technique.
Mini Milk Dragon Crochet Pattern

1. Legs + Body+ Head
Start with yellow yarn.
Leg 1
Rnd 1: 6 sc in MR. [6]
Rnd 2: inc ×6. [12]
Rnd 3: BLO, (3 sc, inc) ×3. [15]
Rnd 4: 15 sc. [15]
FO and cut yarn for the first leg.
Leg 2
Repeat Rnds 1–4, but do not cut yarn.
Now connect the legs.
Rnd 5: ch 3, join to the first leg, 15 sc around first leg, 3 sc along the chain, 15 sc around second leg, 3 sc along the other side of the chain. [36]
Rnd 6: 36 sc. [36]
Rnd 7: (5 sc, inc) ×6. [42]
Now start the white belly color changes.
Rnd 8: yellow 15 sc, white 10 sc, yellow 17 sc. [42]
Rnd 9: yellow 14 sc, white 12 sc, yellow 16 sc. [42]
Rnd 10–12: yellow 13 sc, white 14 sc, yellow 15 sc. [42]
Rnd 13: yellow 14 sc, white 12 sc, yellow 16 sc. [42]
Rnd 14: yellow 3 sc, dec, 5 sc, dec, 3 sc, white 2 sc, dec, 5 sc, dec, yellow 5 sc, dec, 5 sc, dec, 2 sc. [36]
Rnd 15: yellow 36 sc. [36]
Rnd 16: (4 sc, dec) ×6. [30]
Rnd 17: (3 sc, dec) ×6. [24]
Stuff the body firmly.
now start the head part
Rnd 18: 24 sc. [24]
Rnd 19: (3 sc, inc) ×6. [30]
Rnd 20: (4 sc, inc) ×6. [36]
Rnd 21: (5 sc, inc) ×6. [42]
Rnd 22: (6 sc, inc) ×6. [48]
Rnd 23–25: 48 sc. [48]
Place the safety eyes between Rnd 25 and Rnd 26, about 7–8 stitches apart. Embroider the small red mouth under the eyes and add pink blush on both cheeks.
Rnd 26: (6 sc, dec) ×6. [42]
Rnd 27: 42 sc. [42]
Rnd 28: (5 sc, dec) ×6. [36]
Rnd 29: 36 sc. [36]
Rnd 30: (4 sc, dec) ×6. [30]
Rnd 31: 30 sc. [30]
Rnd 32: (3 sc, dec) ×6. [24]
Stuff the head firmly and shape it round.
Rnd 33: (2 sc, dec) ×6. [18]
Rnd 34: (sc, dec) ×6. [12]
Rnd 35: dec ×6. [6]
FO, close the hole, and weave in the end.
Now the legs, body, neck, and head are one piece, so you do not need to sew the head separately.
Your main body shape is now finished. If the legs look slightly uneven after joining, gently shape the body with your fingers before sewing the other parts.
2. Arms ×2
Use yellow yarn.
Rnd 1: 6 sc in MR. [6]
Rnd 2: (sc, inc) ×3. [9]
Rnd 3: BLO, (sc, inc, sc) ×3. [12]
Rnd 4–5: 12 sc. [12]
Rnd 6: (sc, dec, sc) ×3. [9]
Rnd 7–8: 9 sc. [9]
Stuff lightly.
FO, leaving a long tail for sewing.
3. Fingers
Use light brown yarn.
More Free Amigurumi Patterns You’ll Love
")


Work into the front loops left from Rnd 3 of the arm.
At the center of the paw:
Repeat 3 times:
ch 2, sl st in the 2nd ch from hook, sl st into the next front loop.
FO and hide the yarn ends.
Repeat for the second arm.
These tiny fingers give the mini milk dragon a cute paw-like look. Do not pull the stitches too tightly, or the fingers may curl too much.
4. Toes
Use light brown yarn.
Work into the front loops left from Rnd 3 of each leg.
At the front center of the foot:
Repeat 3 times:
ch 3, sl st in the 2nd ch from hook, sl st in the next ch, sl st into the next front loop.
Repeat for the second foot.
The toes are small, so use a yarn needle to hide the ends carefully inside the foot.
5. Tail
Use yellow yarn.
Rnd 1: 6 sc in MR. [6]
Rnd 2: 6 sc. [6]
Rnd 3: (sc, inc) ×3. [9]
Rnd 4: 9 sc. [9]
Rnd 5: (sc, inc, sc) ×3. [12]
Rnd 6: 12 sc. [12]
Rnd 7: (3 sc, inc) ×3. [15]
Rnd 8: 15 sc. [15]
Rnd 9: (2 sc, inc, 2 sc) ×3. [18]
Rnd 10: 18 sc. [18]
Stuff lightly.
FO, leaving a long tail for sewing.
Sew the tail to the back lower body.
The tail should sit low enough to help the dragon balance when placed on a table. If you enjoy small fantasy or animal amigurumi, this tail shape is also similar in spirit to other tiny creature projects like the mini sea turtle pattern, where shaping makes the toy feel more alive.
6. Horns / Back Spikes
Use light brown yarn.
Large Horn ×1
Rnd 1: 6 sc in MR. [6]
Rnd 2: inc ×6. [12]
Rnd 3–4: 12 sc. [12]
FO, stuff lightly, and sew to the top/back of the head.
Small Horns ×2
Rnd 1: 6 sc in MR. [6]
Rnd 2: (sc, inc) ×3. [9]
Rnd 3: 9 sc. [9]
FO, stuff lightly, and sew near the large horn.
You can place the large horn in the center and the two small horns slightly to each side. Before sewing permanently, pin all three horns in place and check the front, side, and back view.
7. Face and Assembly
- Now it is time to bring your Mini Milk Dragon Crochet Pattern to life.
- Sew the arms to both sides of the body, slightly above the white belly.
- Insert or sew the black eyes on the front of the head. Embroider a small mouth under the eyes using red or brown embroidery thread.
- Add pink blush on both cheeks using pink blush, felt, or a few small stitches of pink yarn.
- Sew the tail to the back lower body.
- Sew the horns or spikes on the top/back of the head.
- If you want help keeping both arms even, my tutorial on attaching amigurumi limbs evenly can help you avoid crooked placement.
Your mini milk dragon is ready!
Finishing Tips
For a cleaner result, take your time with the small details. The fingers, toes, horns, and face are what make this Mini Milk Dragon Crochet Pattern look special.
Here are a few finishing tips:
- Use pins before sewing the arms, tail, and horns.
- Add the face only after checking the front position carefully.
- Keep the blush small and soft for a cute baby dragon look.
- Stuff the tail lightly so it stays flexible.
- Do not overstuff the horns, or they may look too bulky.
- Shape the white belly gently with your fingers after stuffing.
If you want another small character pattern with a cute costume feel, you may also enjoy this sitting tiger in bunny hood crochet pattern.
Customization Ideas
You can easily customize this Mini Milk Dragon Crochet Pattern with different yarn colors.
Try these color ideas:
- Cream body with pastel pink horns
- Pale yellow body with white belly
- Mint green body with beige horns
- Lavender body with white belly
- Blue body with cream belly
- Chocolate brown body with tan belly
You can also turn it into a keychain by adding a small keyring to the top of the body. For a softer kawaii style, make the blush larger and use embroidered sleepy eyes instead of safety eyes.
If you like playful character projects, the cute expression style in this Kuromi-inspired amigurumi crochet pattern can inspire different facial details for your dragon.
Common Mistakes to Avoid
1. Forgetting the front loops
The front loops from the arms and legs are important because they are used later for fingers and toes. Do not crochet into both loops on those rounds.
2. Making the belly color changes too loose
When changing from yellow to white, keep your tension even. Do not pull too tightly, or the belly may pucker.
3. Overstuffing the arms
The arms should be lightly stuffed so they stay soft and easy to sew.
4. Placing the horns too far forward
The horns should sit on the top/back area, not too close to the face.
5. Sewing the tail too high
A low tail placement helps the dragon sit nicely and gives the back view a balanced look.
FAQ: Mini Milk Dragon Crochet Pattern
Is this Mini Milk Dragon Crochet Pattern beginner-friendly?
Yes, it is beginner-friendly if you already know basic amigurumi techniques. The only slightly tricky parts are the color changes for the belly and working the fingers and toes into the front loops.
Can I use plush yarn for this pattern?
Yes, but the finished dragon will be larger. If you use plush yarn, choose a hook that keeps the stitches tight and be careful with the small fingers, toes, and horns.
Can I make this dragon without safety eyes?
Yes. You can embroider the eyes with black yarn or embroidery thread. This is a safer option if the toy is made for a young child.
Can I make the horns smaller?
Yes. You can use only the small horn pattern for all three horns if you want a softer baby dragon look.
Can I turn this mini milk dragon into a keychain?
Yes. Use lightweight cotton yarn, stuff firmly, and attach a keyring securely to the top of the body.
This Mini Milk Dragon Crochet Pattern is a charming little fantasy project with simple stitches and adorable details. The rounded body, white belly, tiny horns, little toes, and sweet face make it a lovely handmade gift or a cute addition to your amigurumi collection.
Once you finish your dragon, you can try making a full set in different pastel colors. A yellow milk dragon, pink milk dragon, blue milk dragon, and mint milk dragon would look beautiful together in one photo or as a small handmade collection.
Happy crocheting!