

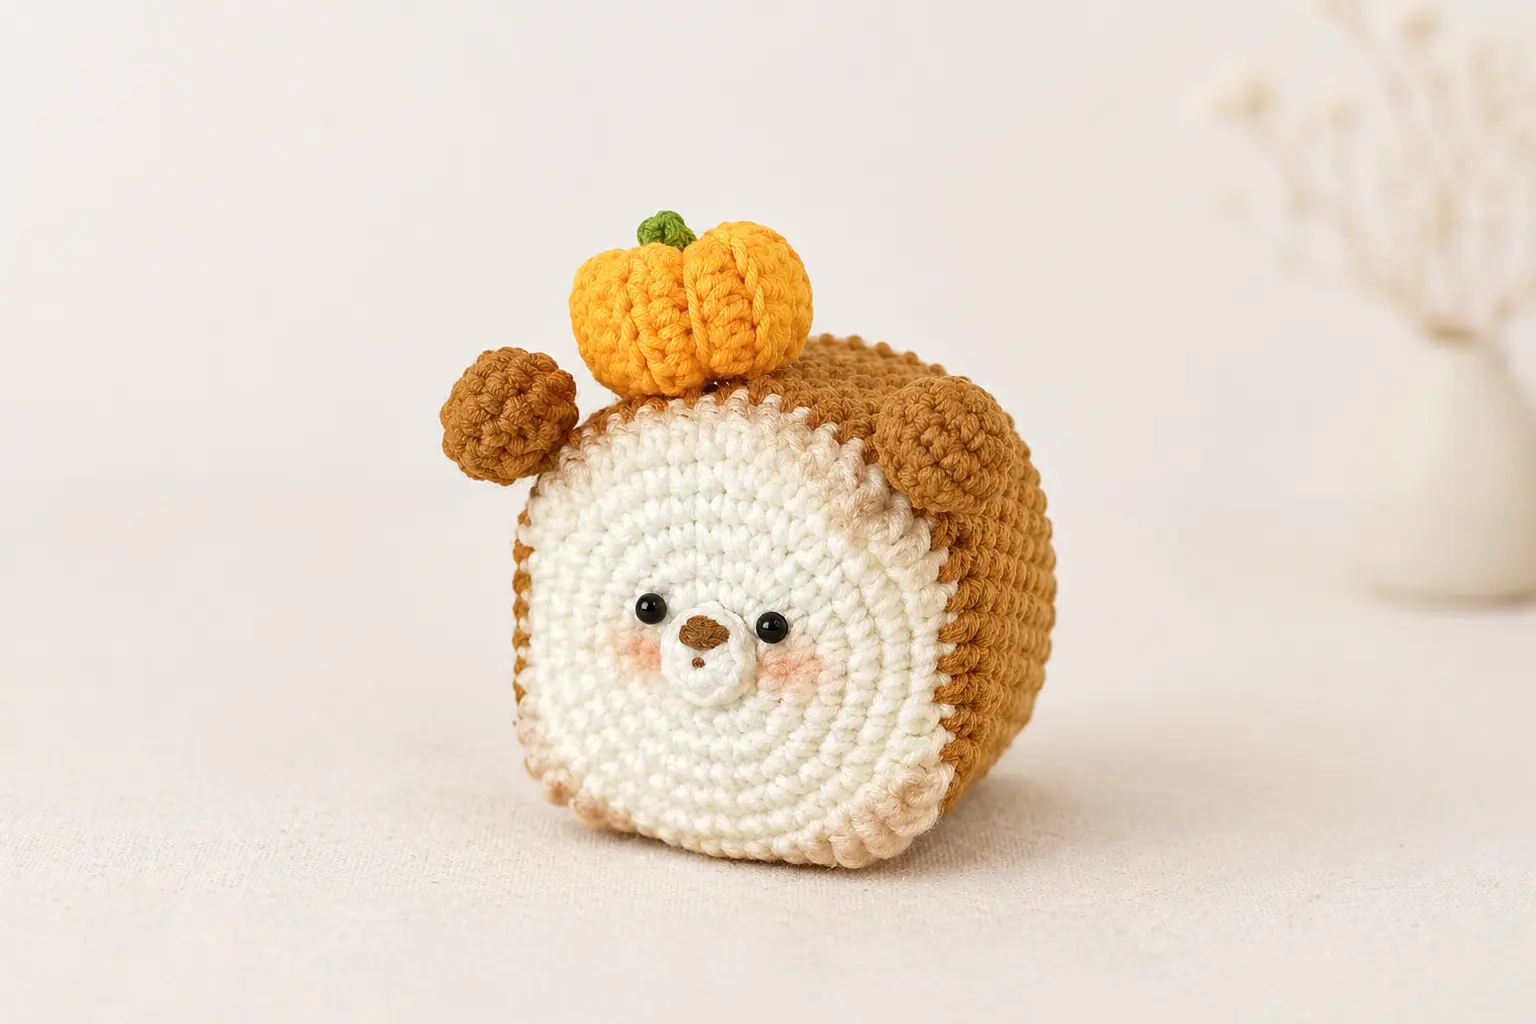
Looking for a cute seasonal amigurumi project? This free mini bear pumpkin toast crochet pattern combines a cozy bear-shaped toast with a little crochet pumpkin for a playful fall design.
The pattern uses beginner-friendly amigurumi techniques and includes the toast front and back, bear ears and face, a small pumpkin accent, and simple assembly instructions. It makes a fun project for autumn décor, handmade gifts, keychains, or a cute Halloween display.
Use warm brown, cream, and orange for a classic fall look, or try pastel colors for a softer kawaii style.
If you’re new to amigurumi, start with the First Amigurumi Step-by-Step Guide before beginning.
Jump to section
About This Mini Bear Pumpkin Toast Crochet Pattern
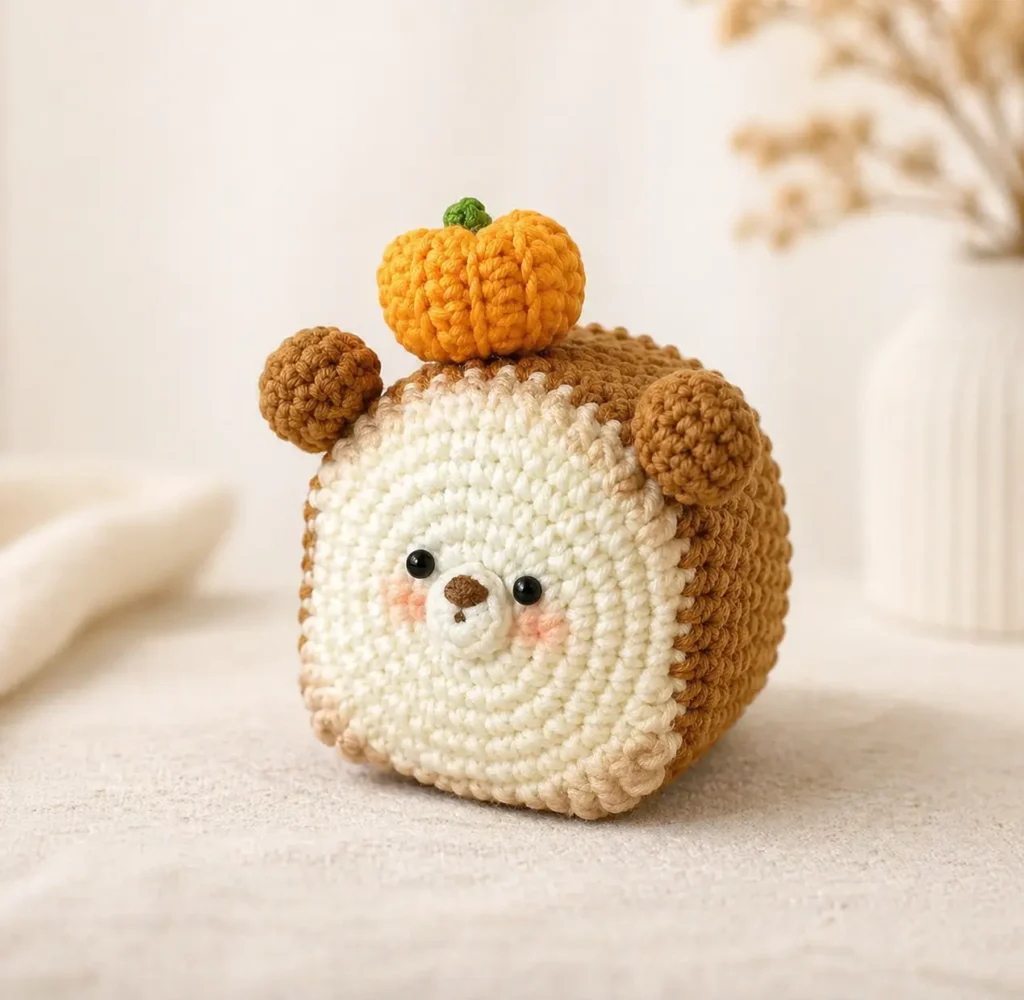
This mini toast bear is made with a cream-colored face, a golden brown crust, two small bear ears, a tiny embroidered snout, and a flat pumpkin topper shaped with yarn wraps.
The front piece is crocheted first, then the crust is worked around the face. The back piece is made separately and sewn to the front with light stuffing inside. This gives the toast a soft, slightly rounded but still flat shape.
The pumpkin is made from a small BLO rectangle, then shaped into a mini pumpkin. If you love fall crochet pieces, you may also enjoy this free crochet pumpkin pattern for a larger seasonal project.
Finished Size
The finished mini bear toast is approximately: 6 cm × 5 cm × 8 cm
Your final size may change depending on your yarn, hook size, and tension.
Skill Level
Beginner to intermediate
This pattern uses basic stitches, simple shaping, small sewn pieces, and embroidery details. You will also use half double crochet, double crochet, and treble crochet to shape the toast top. If you need a refresher, you can review the guides for half double crochet, double crochet, and treble crochet before starting.
For standard crochet abbreviations, the Craft Yarn Council crochet abbreviations guide is also a useful reference.
Materials
- 4-ply milk cotton yarn or similar cotton yarn
- Cream / milk white yarn for the toast face
- Golden brown yarn for the toast crust and ears
- Orange yarn for the pumpkin
- Grass green yarn for the pumpkin stem
- Small amount of dark brown yarn or embroidery thread for the nose and mouth
- 2.0 mm crochet hook
- 4 mm safety eyes
- Fiberfill stuffing
- Stitch markers
- Tapestry needle
- Scissors
- Optional: keychain ring or bag charm hardware
Abbreviations
This pattern is written in US terms.
- MR = magic ring
- ch = chain
- sl st = slip stitch
- sc = single crochet
- inc = increase, 2 sc in the same stitch
- dec = decrease
- hdc = half double crochet
- hdc inc = 2 hdc in the same stitch
- hdc dec = half double crochet decrease
- dc = double crochet
- dc inc = 2 dc in the same stitch
- tr = treble crochet
- tr inc = 2 tr in the same stitch
- BLO = back loop only
- FO = fasten off
If you are still new to shaping amigurumi, this guide on invisible decrease crochet can help you keep your stitches neat and smooth.
Mini / Keychain Version
For a smaller Bear Pumpkin Toast:
- Use sport or fingering-weight yarn
- Use approximately a 2.0–2.25 mm hook
- Work the same stitch counts
- Stuff lightly
- Sew a reinforced yarn loop through several stitches at the top of the toast before attaching the jump ring and keychain clasp
Using thinner yarn is the safest way to scale the design down while preserving the original proportions
Pattern Notes
- Work in continuous rounds unless stated otherwise.
- Use a stitch marker to mark the first stitch of each round.
- Stuff the toast lightly so it keeps a soft, rounded shape without becoming too bulky.
- The face is made first in cream yarn, then the golden brown crust is worked around it.
- The back piece is crocheted separately and sewn to the front piece.
- The pumpkin is crocheted flat, then shaped into a small pumpkin with yarn wraps.
For a cute collection idea, you can display this toast bear beside other tiny food-inspired crochet pieces like the Loaf Cat Crochet Pattern or the Avocado Crochet Keychain Pattern.
Mini Bear Pumpkin Toast Crochet Pattern
Start with cream/milk white yarn.
- Rnd 1: 6 sc in MR. [6]
- Rnd 2: inc ×6. [12]
- Rnd 3: (sc, inc) ×6. [18]
- Rnd 4: (sc, inc, sc) ×6. [24]
- Rnd 5: (3 sc, inc) ×6. [30]
- Rnd 6: (2 sc, inc, 2 sc) ×6. [36]
- Rnd 7: (5 sc, inc) ×6. [42]
- Rnd 8: 2 sc, hdc, dc, tr, tr inc, tr, dc, hdc, 3 sc, 2 hdc, (6 dc, dc inc) ×2, 2 hdc, 3 sc, hdc, dc, tr, tr inc, tr, dc, hdc, 2 sc. [46]
Change to golden brown yarn.
- Rnd 9: 46 hdc. [46]
- Rnd 10: hdc dec, 43 hdc, hdc inc. [46]
- Rnds 11–16: Repeat Rnds 9 and 10 three more times. [46]
FO and hide the yarn tail.
Bear Ears ×2
Use golden brown yarn.
- Rnd 1: 6 sc in MR. [6]
- Rnd 2: inc ×6. [12]
- Rnds 3–4: 12 sc around. [12]
Stuff lightly.
- Rnd 5: dec ×6. [6]
FO, pull the opening closed, and leave a long tail for sewing.
Bear Snout
Use cream / milk white yarn.
- Rnd 1: 8 sc in MR. [8]
- Pull the ring tight. Sl st to close if needed, then FO.
Using dark brown embroidery thread, embroider a tiny nose in the center of the snout. Add a small mouth under the nose.
You may sew the snout to the bear face or attach it carefully with fabric glue.
Face Details
- Attach the safety eyes to the cream toast face before sewing the back piece.
- Place the eyes between Rounds 3 and 4.
- Leave about 5 stitches between the eyes.
- Place the snout around Rounds 1 and 2, centered between the eyes.
- Sew the ears symmetrically near the top crust, around Round 9.
- Leave about 12 stitches between the ears.
- Use dark brown thread to embroider any extra face details, such as a tiny mouth or soft cheek expression.
For another sweet animal-with-accessory idea, the Mini Bunny with Carrot Bag Crochet Pattern is a nice project to pair with this fall bear toast.
Bear Toast Back
Use golden brown yarn.
- Crochet a second piece using the same shaping and stitch counts as R1–R16 of the front.
- Keep the back completely golden brown; no cream color change is needed.
- FO, leaving a long tail for sewing.
Important: The front and back should finish with the same outer stitch count and approximately the same dimensions so the edges align neatly during assembly.
Joining the Front and Back
- Place the back piece behind the front piece with the wrong sides facing each other.
- Use stitch markers to hold the pieces in place. Sew the front and back together with golden brown yarn, matching the stitches evenly around the edge.
- When the toast is about halfway sewn closed, add a small amount of fiberfill. Do not overstuff. The toast should stay soft and slightly flat like a mini slice of bread.
- Finish sewing closed and hide the yarn tail.
Pumpkin
Use orange yarn.
- Row 1: Ch 10. Starting in the 2nd ch from the hook, work 9 hdc. Turn. [9]
- Rows 2–10: BLO 9 hdc. Turn. [9]
- FO, leaving a long tail for sewing and shaping.
Shaping the Pumpkin
- Fold the rectangle so Row 1 and Row 10 meet.
- Sew the two short edges together to form a small tube.
- Thread the yarn tail around one open edge and pull tightly to close. Secure with a knot.
- Add a small amount of stuffing inside the pumpkin.
- Thread the yarn around the second opening and pull tightly to close.
- To create the pumpkin shape, pass the yarn through the center of the pumpkin and around the outside about 5 times, pulling gently each time to form pumpkin grooves.
- Secure the yarn and hide the tail.
Pumpkin Stem
Use grass green yarn.
- Ch 4.
- Starting in the 2nd ch from the hook, work:
- 3 sc.
- FO and leave a tail for sewing.
- Sew the stem to the center top of the pumpkin.
Final Assembly
- Prepare the Front and Back:
Check that both toast pieces are approximately the same size and shape. Weave in any yarn tails that will not be used for sewing. - Add the Face:
Position the eyes, nose, and mouth on the front toast piece before joining the front and back. Check that the face is centered and balanced. Add optional pink blush to the cheeks. - Attach the Bear Ears:
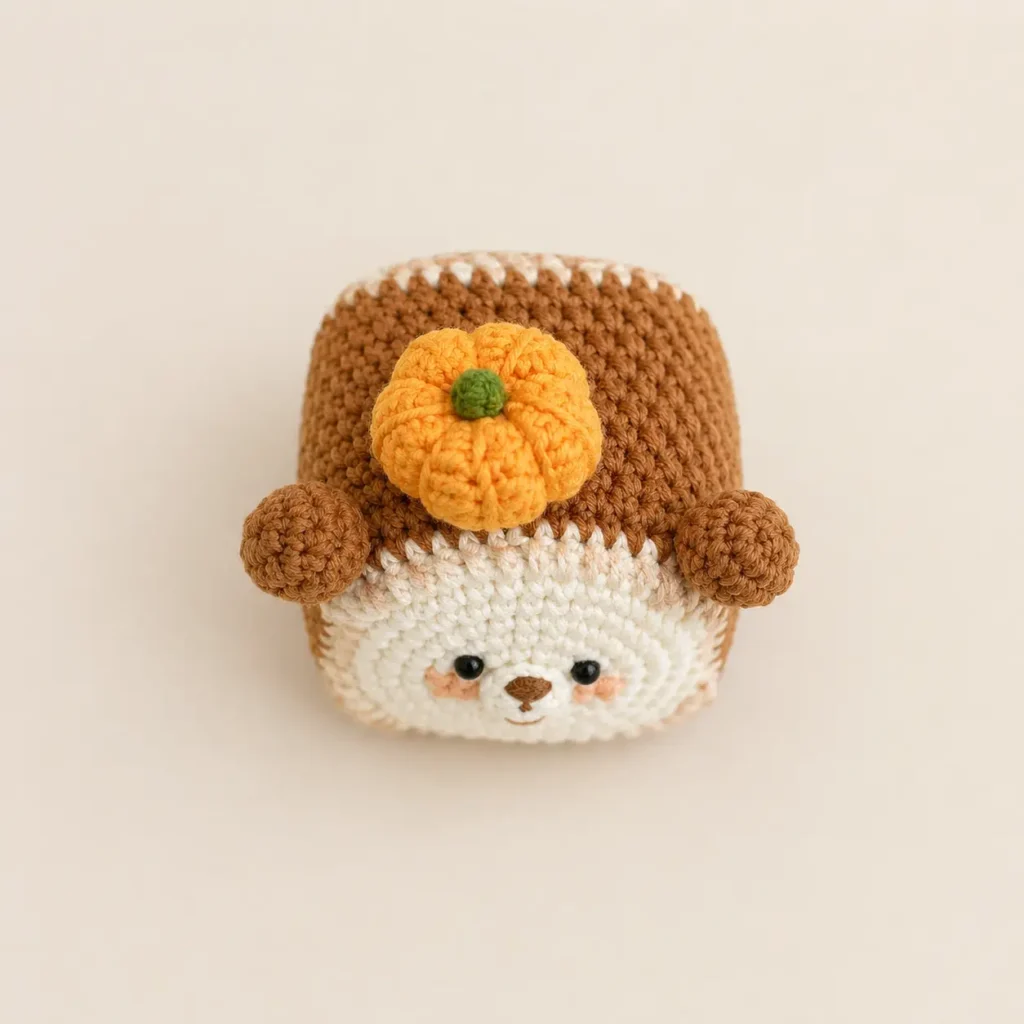
Position one ear near each upper corner of the toast. Pin both ears first to check symmetry, then sew them securely to the front piece. - Attach the Mini Pumpkin:
Place the crochet pumpkin where you want it on the front of the toast. Pin it first, then sew around the back of the pumpkin with small hidden stitches. Make sure the stem points upward and the pumpkin sits flat against the toast. - Join Front and Back:
Place the front and back pieces together with the wrong sides facing inward. Sew evenly around the outside edge, matching corresponding stitches. - Stuff the Toast:
Before closing the final section, add small amounts of fiberfill. Keep the stuffing light to moderate so the toast stays flat and soft rather than becoming round like a ball. - Close the Opening:
Finish sewing the remaining edge and hide the yarn tail inside the amigurumi. - Add Keychain Hardware — Optional:
Sew a strong yarn loop through several stitches at the top of the toast, preferably between the ears. Reinforce it several times before attaching the jump ring and keychain clasp. - Final Shaping:
Gently shape the toast, ears, and pumpkin with your fingers. Check that all sewn pieces are secure and weave in any remaining yarn tails.
Tip: Pin the ears, face, and pumpkin in position before sewing. Small changes in placement can make a big difference to the finished expression.
Finishing Tips
- For a cleaner, handmade finish, hide all yarn tails inside the toast body.
- Use small, tight stitches when attaching the ears and pumpkin so they stay secure.
- Do not overstuff the toast. A little fiberfill is enough to give it shape while keeping it flat and soft.
- If your pumpkin looks too round, gently press it between your fingers and pull the groove wraps a little tighter.
- If your toast edges curl, shape the piece with your hands after stuffing and sewing.
- For a softer kawaii look, add tiny blush marks under the eyes using pink yarn, felt, or pastel powder.
Your Mini Bear Pumpkin Toast Crochet Pattern is now complete.
Customization Ideas
- You can easily personalize this mini bear pumpkin toast with small changes.
- Use a darker brown yarn for a toasted bread effect.
- Make the pumpkin in mustard, rust, or soft pastel orange for a different fall look.
- Add a tiny bow between one ear and the pumpkin.
- Turn it into a magnet by sewing a small magnet securely inside the back before closing.
- Make a full autumn charm set with this pumpkin toast, a tiny pumpkin, and a mini leaf.
More Fall & Halloween Crochet Patterns
If you enjoyed this Mini Bear Pumpkin Toast, try these seasonal patterns next:
- Free Crochet Pumpkin Pattern — 7 easy pumpkin variations for fall and Halloween.
- Pumpkin Witch Crochet Pattern — a cute witchy pumpkin amigurumi.
- Crochet Ghost Pattern — 4 spooky-cute ghost variations.
- Black Cat Crochet Pattern for Halloween — a classic spooky-season amigurumi.
- Grim Reaper Crochet Pattern — a hooded Halloween Reaper with a crochet scythe.
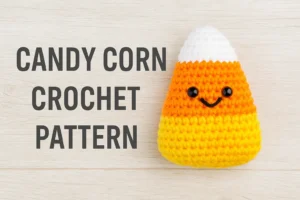
- Crochet Pattern for Candy Corn — a quick Halloween candy-inspired project.
FAQ About the Mini Bear Pumpkin Toast Crochet Pattern
Is this Mini Bear Pumpkin Toast Crochet Pattern beginner-friendly?
Yes, this pattern is suitable for confident beginners. The main shape uses simple increases, half double crochet rounds, and basic sewing. The pumpkin shaping may need a little patience, but it is still easy to follow.
Can I make this bear toast bigger?
Yes. Use thicker yarn and a larger hook to make a bigger version. Keep in mind that the finished size, stuffing amount, and eye size will also change.
Can I use plush yarn for this pattern?
You can use plush yarn, but the tiny details may become larger and harder to control. Cotton or milk cotton yarn is easier for a clean mini keychain finish.
Can I make the pumpkin removable?
Yes. Instead of sewing the pumpkin permanently, you can attach it with a small snap button. This lets you remove or change the decoration.
Can I sell the finished crochet item?
Yes, you can sell the finished handmade item in small quantities. Please credit TopAmigurumi for the pattern when possible and do not resell or copy the written pattern as your own.
Happy Fall Crocheting!
This free mini bear pumpkin toast crochet pattern is a cute seasonal project for fall gifts, Halloween décor, or a handmade keychain.
More Free Amigurumi Patterns You’ll Love
Make it in warm autumn colors for a cozy look, or try pastel shades for a softer kawaii version. Pair it with a crochet pumpkin, ghost, black cat, or Pumpkin Witch for a complete handmade fall collection.
