
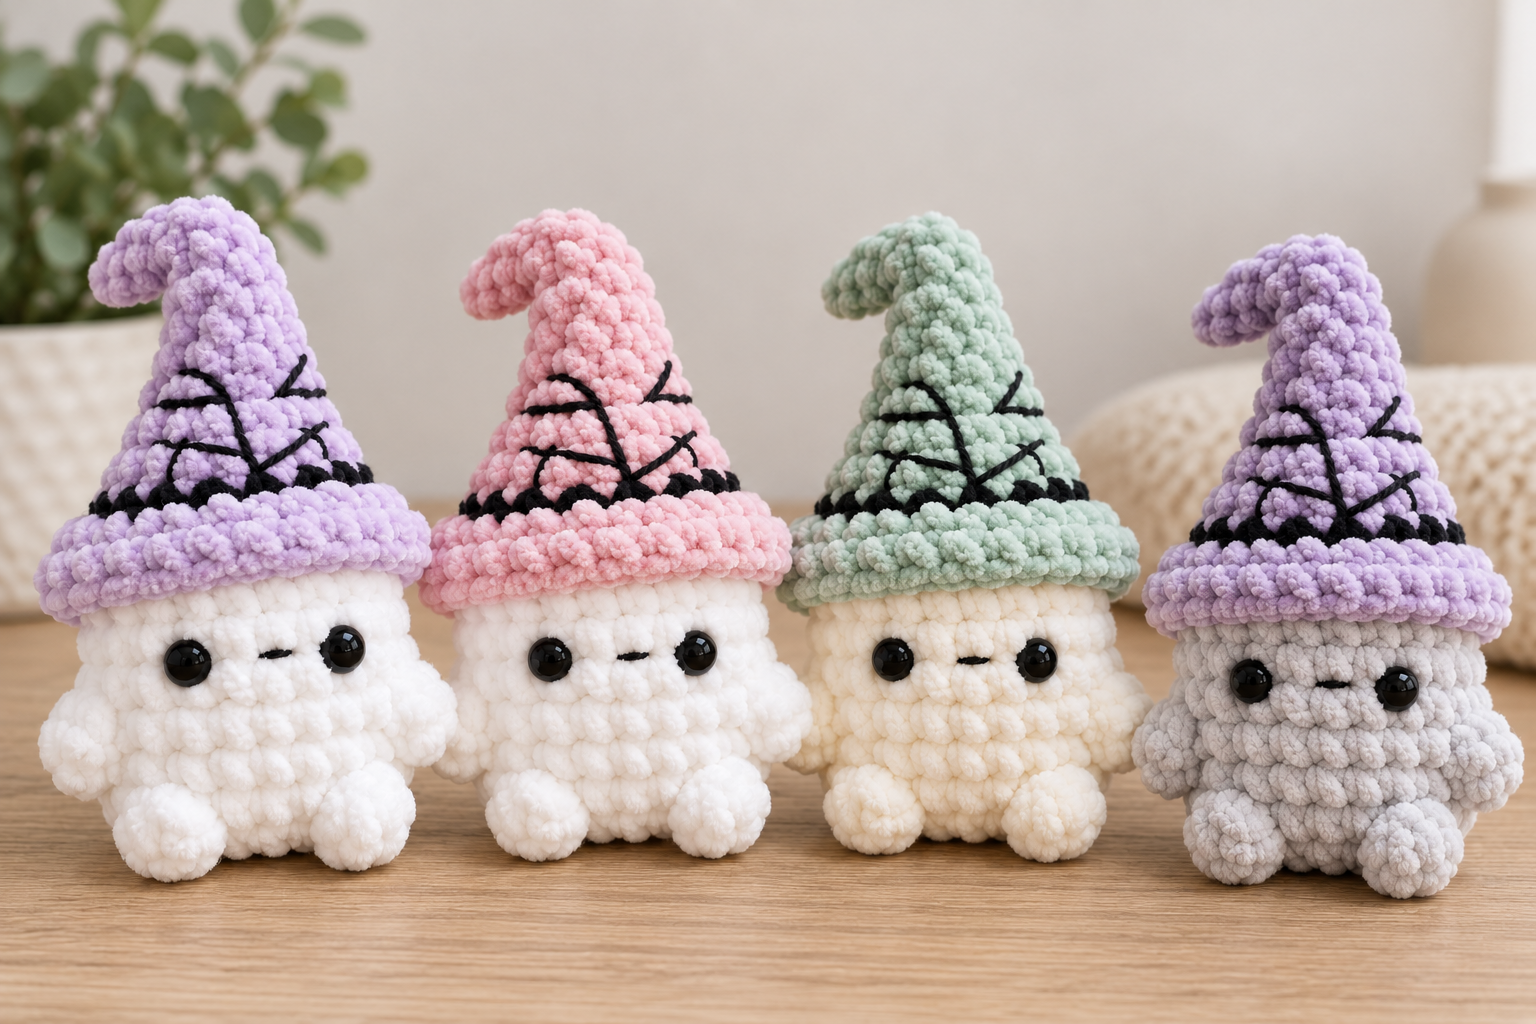
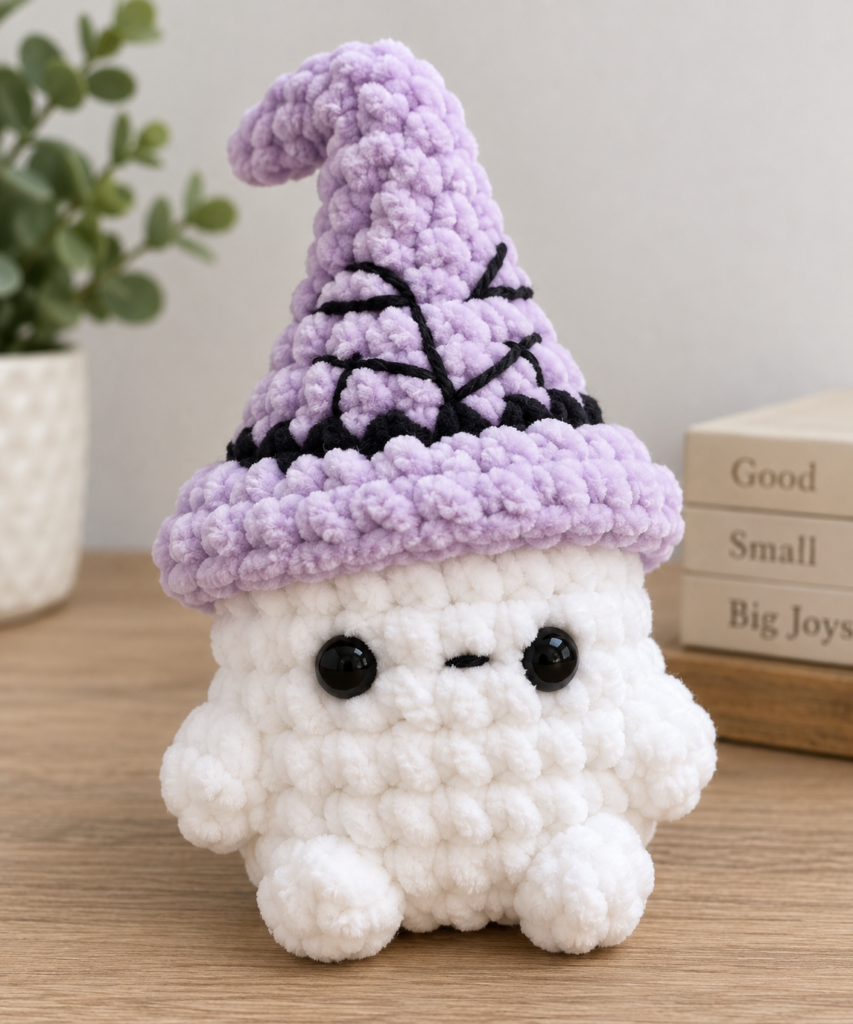
Looking for a quick spooky project with almost no assembly? This No-Sew Mini Witch Ghost Crochet Pattern creates an adorable little ghost wearing a crooked purple witch hat, complete with tiny bobble-stitch feet, hands, and an optional embroidered spiderweb.
The entire ghost is crocheted from the bottom up in one continuous piece. The feet and arms are made directly into the body using bobble stitches, and after only eight body rounds, you change color and continue straight into the witch hat.
There are no separate arms, legs, body, or hat pieces to sew together, making this a fun Halloween project if you enjoy quick amigurumi with minimal finishing. Only the little mouth and spiderweb require optional embroidery.
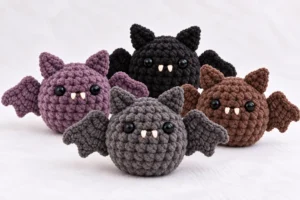
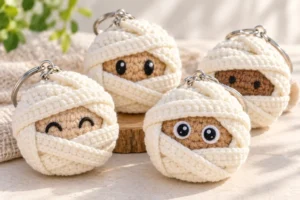
If you are building a collection of small no-sew Halloween characters, this witch ghost looks especially cute beside the Mini Mummy Crochet Pattern and the No-Sew Mini Bat Crochet Pattern.
Jump to section
Pattern Notes
- Use a stitch marker to mark the first stitch of each round.
- The stitch count at the end of each round appears inside [brackets].
- The bobble stitches count as one stitch each and are worked directly into the body, so you do not need to make or attach separate feet and arms.
- If you’re new to amigurumi circles, the magic ring vs. chain circle guide explains how to create a neat starting center.
Finished Size
Approximately 13–16 cm / 5–6.25 in tall, depending on your yarn, hook size, and crochet tension.
The crooked hat makes the final height slightly variable.
Materials
- #6 super bulky chenille or plush yarn
- White for the ghost
- Light purple or lavender for the witch hat
- Small amount of black yarn for the mouth and spiderweb
- 4.5–5 mm crochet hook
- 10–12 mm safety eyes
- Fiberfill
- Stitch marker
- Yarn needle for embroidery
- Scissors
Although #6 yarn is classified as super bulky, this pattern intentionally uses a relatively small hook to create the dense fabric needed for amigurumi and help prevent stuffing from showing between stitches. If you’re unsure about yarn-weight categories, the Craft Yarn Council Standard Yarn Weight System is a useful reference.
Safety note: If you are making the ghost for a baby or very young child, replace safety eyes with embroidered eyes.
Abbreviations – US Crochet Terms
- MR – magic ring
- sc – single crochet
- inc – increase
- dec – invisible decrease
- bbl – bobble stitch
- FLO – front loop only
- sl st – slip stitch
- FO – fasten off
This pattern is written in US crochet terminology and is worked continuously in a spiral unless otherwise stated.
How to Crochet the Bobble Stitch
The bobbles create the ghost’s tiny feet and hands.
- 4-dc Bobble
- Yarn over and insert your hook into the indicated stitch.
- Yarn over and pull up a loop, then yarn over and pull through 2 loops.
- Repeat this process until you have worked 4 partially completed double crochets into the same stitch.
- Yarn over and pull through all remaining loops on your hook.
- Push the bobble toward the outside of the body with your finger.
- Each bobble counts as 1 stitch.
no-sew-mini-witch-ghost-crochet-pattern
Ghost Body
With white yarn, begin at the bottom of the ghost.
Work continuously in a spiral.
- R1: 6 sc in MR. [6]
- R2: inc ×6. [12]
- R3: 3 sc, bbl, 4 sc, bbl, 3 sc. [12]
- The two bobbles in R3 form the little feet.
- Make sure both bobbles are pushed outward before continuing.
- R4: (1 sc, inc) ×6. [18]
- R5: 4 sc, bbl, 8 sc, bbl, 4 sc. [18]
- The two bobbles in R5 form the ghost’s hands/arms.
- R6: (2 sc, inc) ×6. [24]
- R7: sc around. [24]
- R8: sc around. [24]
Add the Eyes
- Place the safety eyes between R6 and R7, approximately 5 stitches apart.
- Check the face from the front before securing the backs of the safety eyes.
- Stuff the body firmly but evenly. Add small pieces of fiberfill at a time, paying particular attention to the area around the feet, sides, and face.
- Do not fasten off.
The witch hat now continues directly from the body.
Witch Hat
Change to light purple or lavender yarn at the end of R8.
If you want a cleaner transition between the white ghost and purple hat, the changing colors in amigurumi guide includes useful tips for keeping color changes neat.
R9: FLO sc around. [24]
Working R9 in the front loops creates a subtle edge where the witch hat begins.
- R10: sc around. [24]
- R11: (2 sc, dec) ×6. [18]
- R12: sc around. [18]
- R13: sc around. [18]
- R14: (1 sc, dec) ×6. [12]
- R15: sc around. [12]
- R16: sc around. [12]
- Add a small amount of stuffing to the lower section of the hat.
- Do not overstuff. The upper section needs to remain flexible enough to bend.
- R17: (1 sc, dec) ×4. [8]
- R18: sc around. [8]
- R19: sc around. [8]
- Leave the upper part of the hat only very lightly stuffed.
- R20: dec ×4. [4]
- R21: sc around. [4]
- FO, leaving a short yarn tail.
Thread the tail through the remaining four stitches and gently pull to close.
Weave in the end.
If your decreases are creating visible gaps, the invisible decrease crochet tutorial can help you get a smoother amigurumi finish.
Shape the Crooked Hat
Gently bend the thin upper section of the hat toward one side. You don’t need to fold it sharply. A soft curve gives the witch hat a more natural handmade appearance. Because the upper section contains very little stuffing, it should remain flexible enough to hold the crooked shape.
Embroider the Face
- Thread a yarn needle with a small amount of black yarn.
- Below the eyes, embroider a tiny horizontal or slightly curved mouth.
- Keep the mouth simple so it doesn’t overpower the ghost’s face.
You can make it:
- A tiny straight mouth for a classic ghost expression
- Slightly curved for a cute smile
- Very small and rounded for a surprised expression
Secure the yarn discreetly inside the body.
Add the Spiderweb
- For an extra witchy detail, embroider a tiny black spiderweb onto the front or side of the purple hat.
- Start by making approximately 3–4 long lines radiating outward from one small central point.
- Then add short curved connecting stitches between the longer lines.
- The web doesn’t need to be perfectly symmetrical. A slightly irregular shape works especially well with the handmade Halloween look.
- You can also leave the hat completely plain if you prefer a simpler mini witch ghost.
Tips for the Best Shape
Keep the Bobbles Facing Forward
- After completing the bobble feet in R3 and the arms in R5, push each bobble firmly toward the outside of the piece.
- Before adding the eyes, look at the ghost from the front and make sure the feet, arms, and face are aligned.
Stuff the Body Before the Hat Becomes Narrow
- Don’t wait until the final hat rounds to add all the stuffing.
- Once the opening decreases to 8 or 4 stitches, reaching the body becomes difficult.
- Stuff the ghost body firmly after R8, then add only small amounts of fiberfill while crocheting the lower hat.
Don’t Overstuff the Hat Tip
- The lower part of the hat can contain a little stuffing to maintain its shape, but the narrow upper section should stay soft.
- Too much stuffing will make the hat straight instead of giving you the characteristic crooked witch-hat curve.
Use a Tight Tension
- Plush and chenille yarn can leave noticeable gaps if your tension is too loose.
- If you can clearly see the stuffing through your stitches, try moving down half a hook size.
Customize Your Witch Ghost
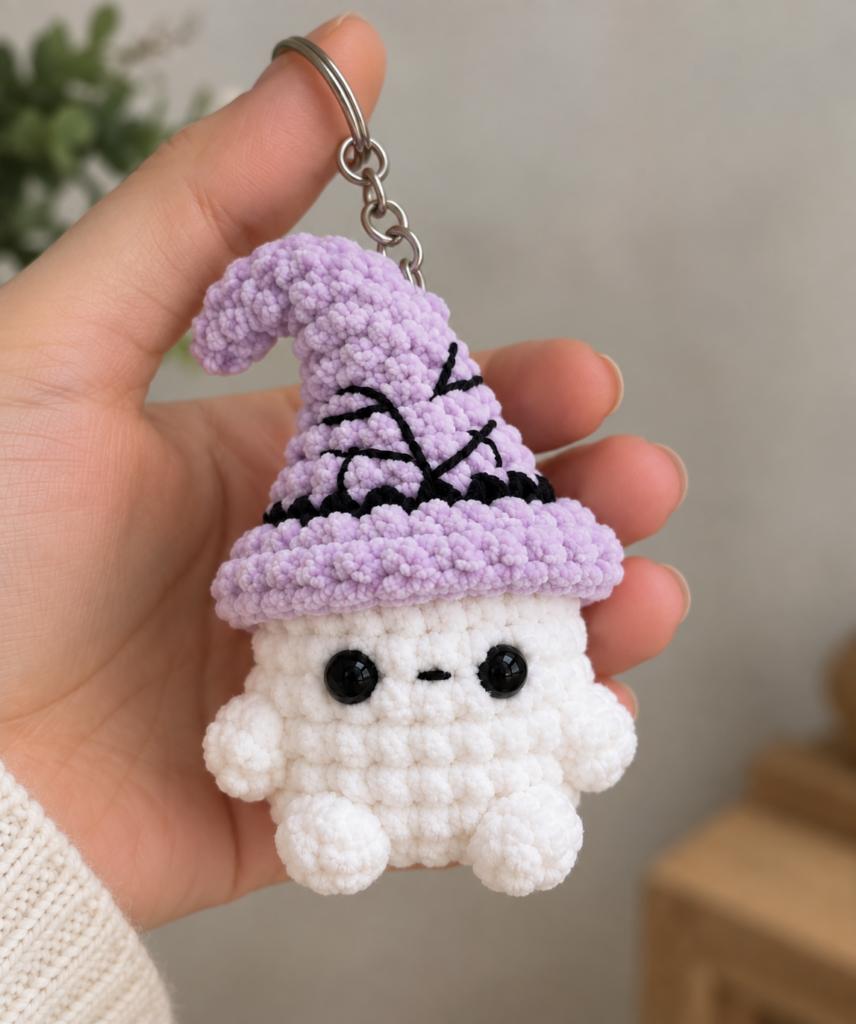
Lavender and white create a cute pastel Halloween look, but this pattern is easy to customize.
Try a black hat with an orange spiderweb for a more traditional Halloween version, or use orange, pink, green, gray, or striped yarn for the hat.
You can also crochet a matching free crochet pumpkin or pair the ghost with the Black Cat Halloween Crochet Pattern for a small spooky display.
If you prefer ghosts without witch hats, the free crochet ghost pattern collection includes several different ghost styles you can make alongside this one.
More Free Halloween Crochet Patterns
This mini witch ghost can easily become part of a larger handmade Halloween collection.
For another witch-themed project, try the Pumpkin Witch Crochet Pattern. If you want something small and colorful, the Candy Corn Crochet Pattern makes a fun companion piece.
For a slightly spookier character, you can also make the Grim Reaper Crochet Pattern.
Together, the witch ghost, bat, mummy, pumpkin, candy corn, black cat, and Grim Reaper can make a fun handmade Halloween shelf display, keychain collection, or small gift set.
Frequently Asked Questions
Is this witch ghost really no-sew?
Yes, in terms of construction. The body, feet, arms, and witch hat are all crocheted together, so there are no separate amigurumi pieces to sew onto the body.
A yarn needle is only needed if you choose to embroider the mouth and spiderweb.
Can I use regular worsted yarn instead of plush yarn?
Yes. You can crochet the same pattern using thinner yarn and an appropriately smaller hook.
The finished ghost will simply be smaller than the 13–16 cm version made with super bulky plush yarn.
Why is the crochet hook smaller than the usual hook used for super bulky yarn?
Amigurumi generally needs a denser fabric than garments or blankets.
A 4.5–5 mm hook helps keep the stitches close together with plush yarn so fiberfill is less likely to show through.
If your stitches are extremely difficult to work, move up slightly in hook size.
Why do I work R9 in the front loop only?
The FLO round creates a small visual transition between the white ghost body and the purple witch hat.
It also helps define the beginning of the hat without requiring a separate brim or sewn-on piece
Can I make the hat longer?
Yes. Add additional sc-around rounds while you still have 8 stitches before working R20.
This will create a longer witch-hat tip with an even more dramatic bend.
Can I make this pattern without safety eyes?
Absolutely.
Instead of safety eyes, embroider two small black eyes using yarn or embroidery thread. This is also the better option when making the toy for a very young child.
How do I keep the witch hat bent?
Keep the upper rounds only lightly stuffed.
Once the piece is finished, gently bend the narrow tip toward one side and shape it with your fingers. Plush yarn usually helps the hat maintain its soft crooked shape.
👻🧙♀️༄˖°.🍂Happy Fall & Halloween Crocheting!🍂.ೃ࿔*:・👻🧙♀️ ̟
This No-Sew Mini Witch Ghost Crochet Pattern is a quick way to add another spooky-cute character to your Halloween amigurumi collection.
With bobble-stitch feet and hands, an eight-round ghost body, and a witch hat crocheted directly onto the top, the design keeps assembly to a minimum while still giving the finished toy plenty of character.
More Free Amigurumi Patterns You’ll Love
Experiment with different hat colors, facial expressions, and embroidered details to make each little witch ghost unique.
Happy crocheting and happy Halloween! 👻🧙♀️
